
Automating Social Media Posting
ContentPaul makes it easy to automate the posting of social media content directly to various platforms. With a growing selection of social media post templates that support automatic posting, users can streamline their social media management. Below is a detailed guide on how to set up and use this feature.
Identifying Auto-Post Templates
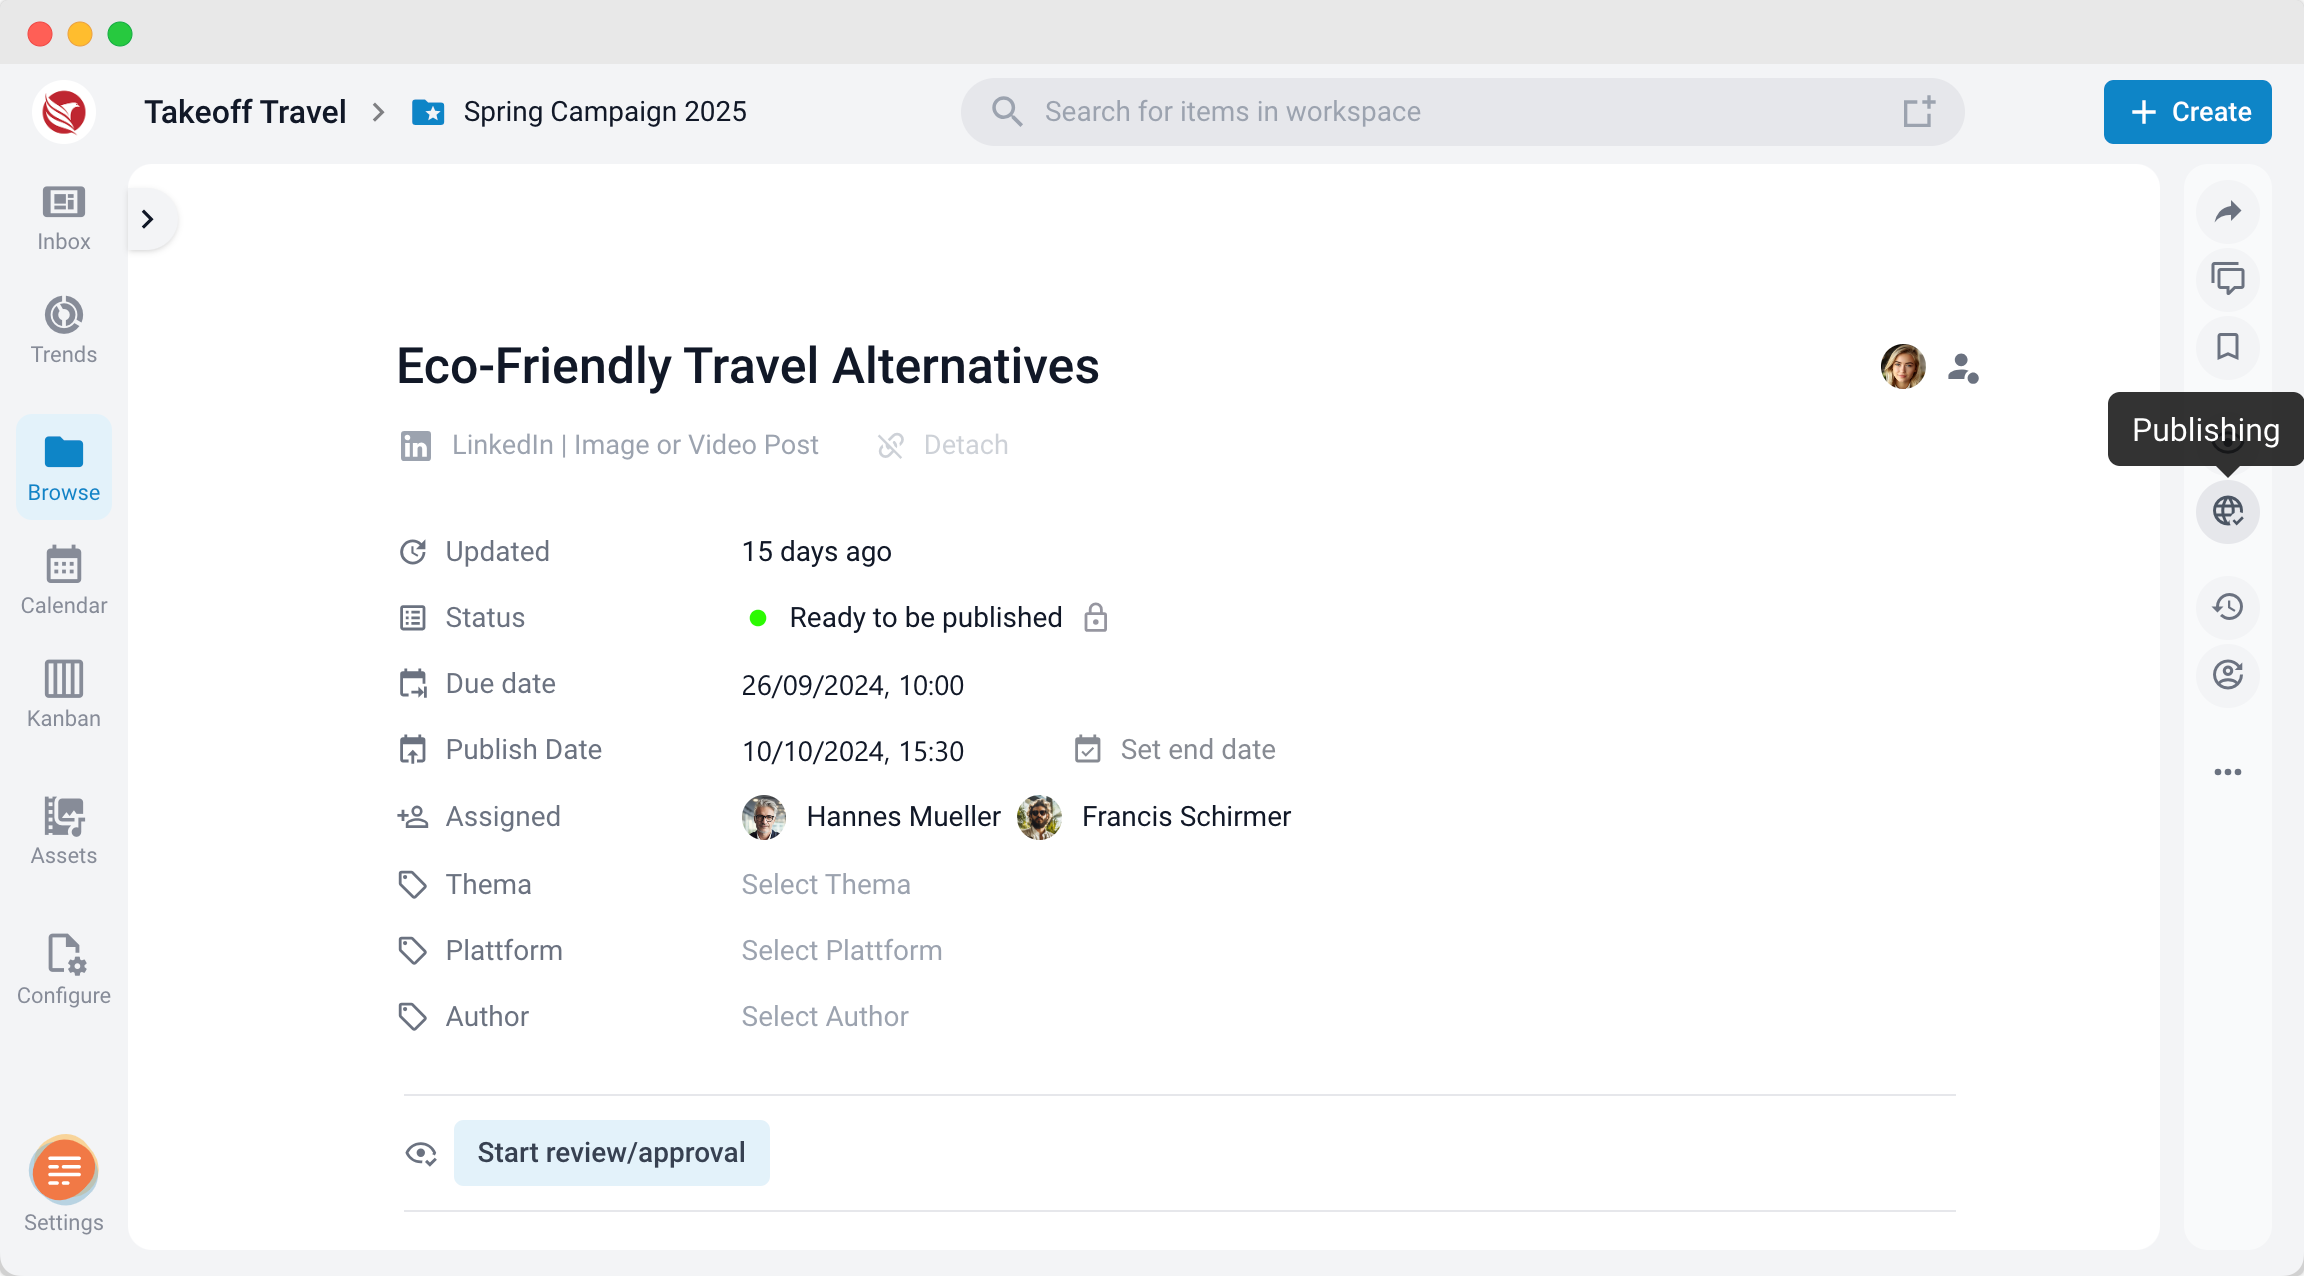
Templates that support automatic posting are clearly marked with a yellow publishing icon next to the template name. This indicates that the template can be posted directly to the connected social media platforms from within ContentPaul.
Requirements for Automated Posting
To post automatically, the user must meet the following criteria:
- User Roles: Only users with the Admin or Project Manager roles can post directly to social media platforms.
- Account Connection: The respective social media account must be connected to ContentPaul and assigned to the Workspace where the content item is located.
Steps for Automated Posting
- Create a Post Using a Global Template:
- Start by selecting a social media post template with the yellow publishing icon.
- Fill in all the required fields for the post, including text, images/videos, and links.
- Initiate the Posting Process:
- Once all fields are completed, click the publishing icon located in the right-hand navigation bar.
- Once all fields are completed, click the publishing icon located in the right-hand navigation bar.
- Select Pages/Profiles for Posting:
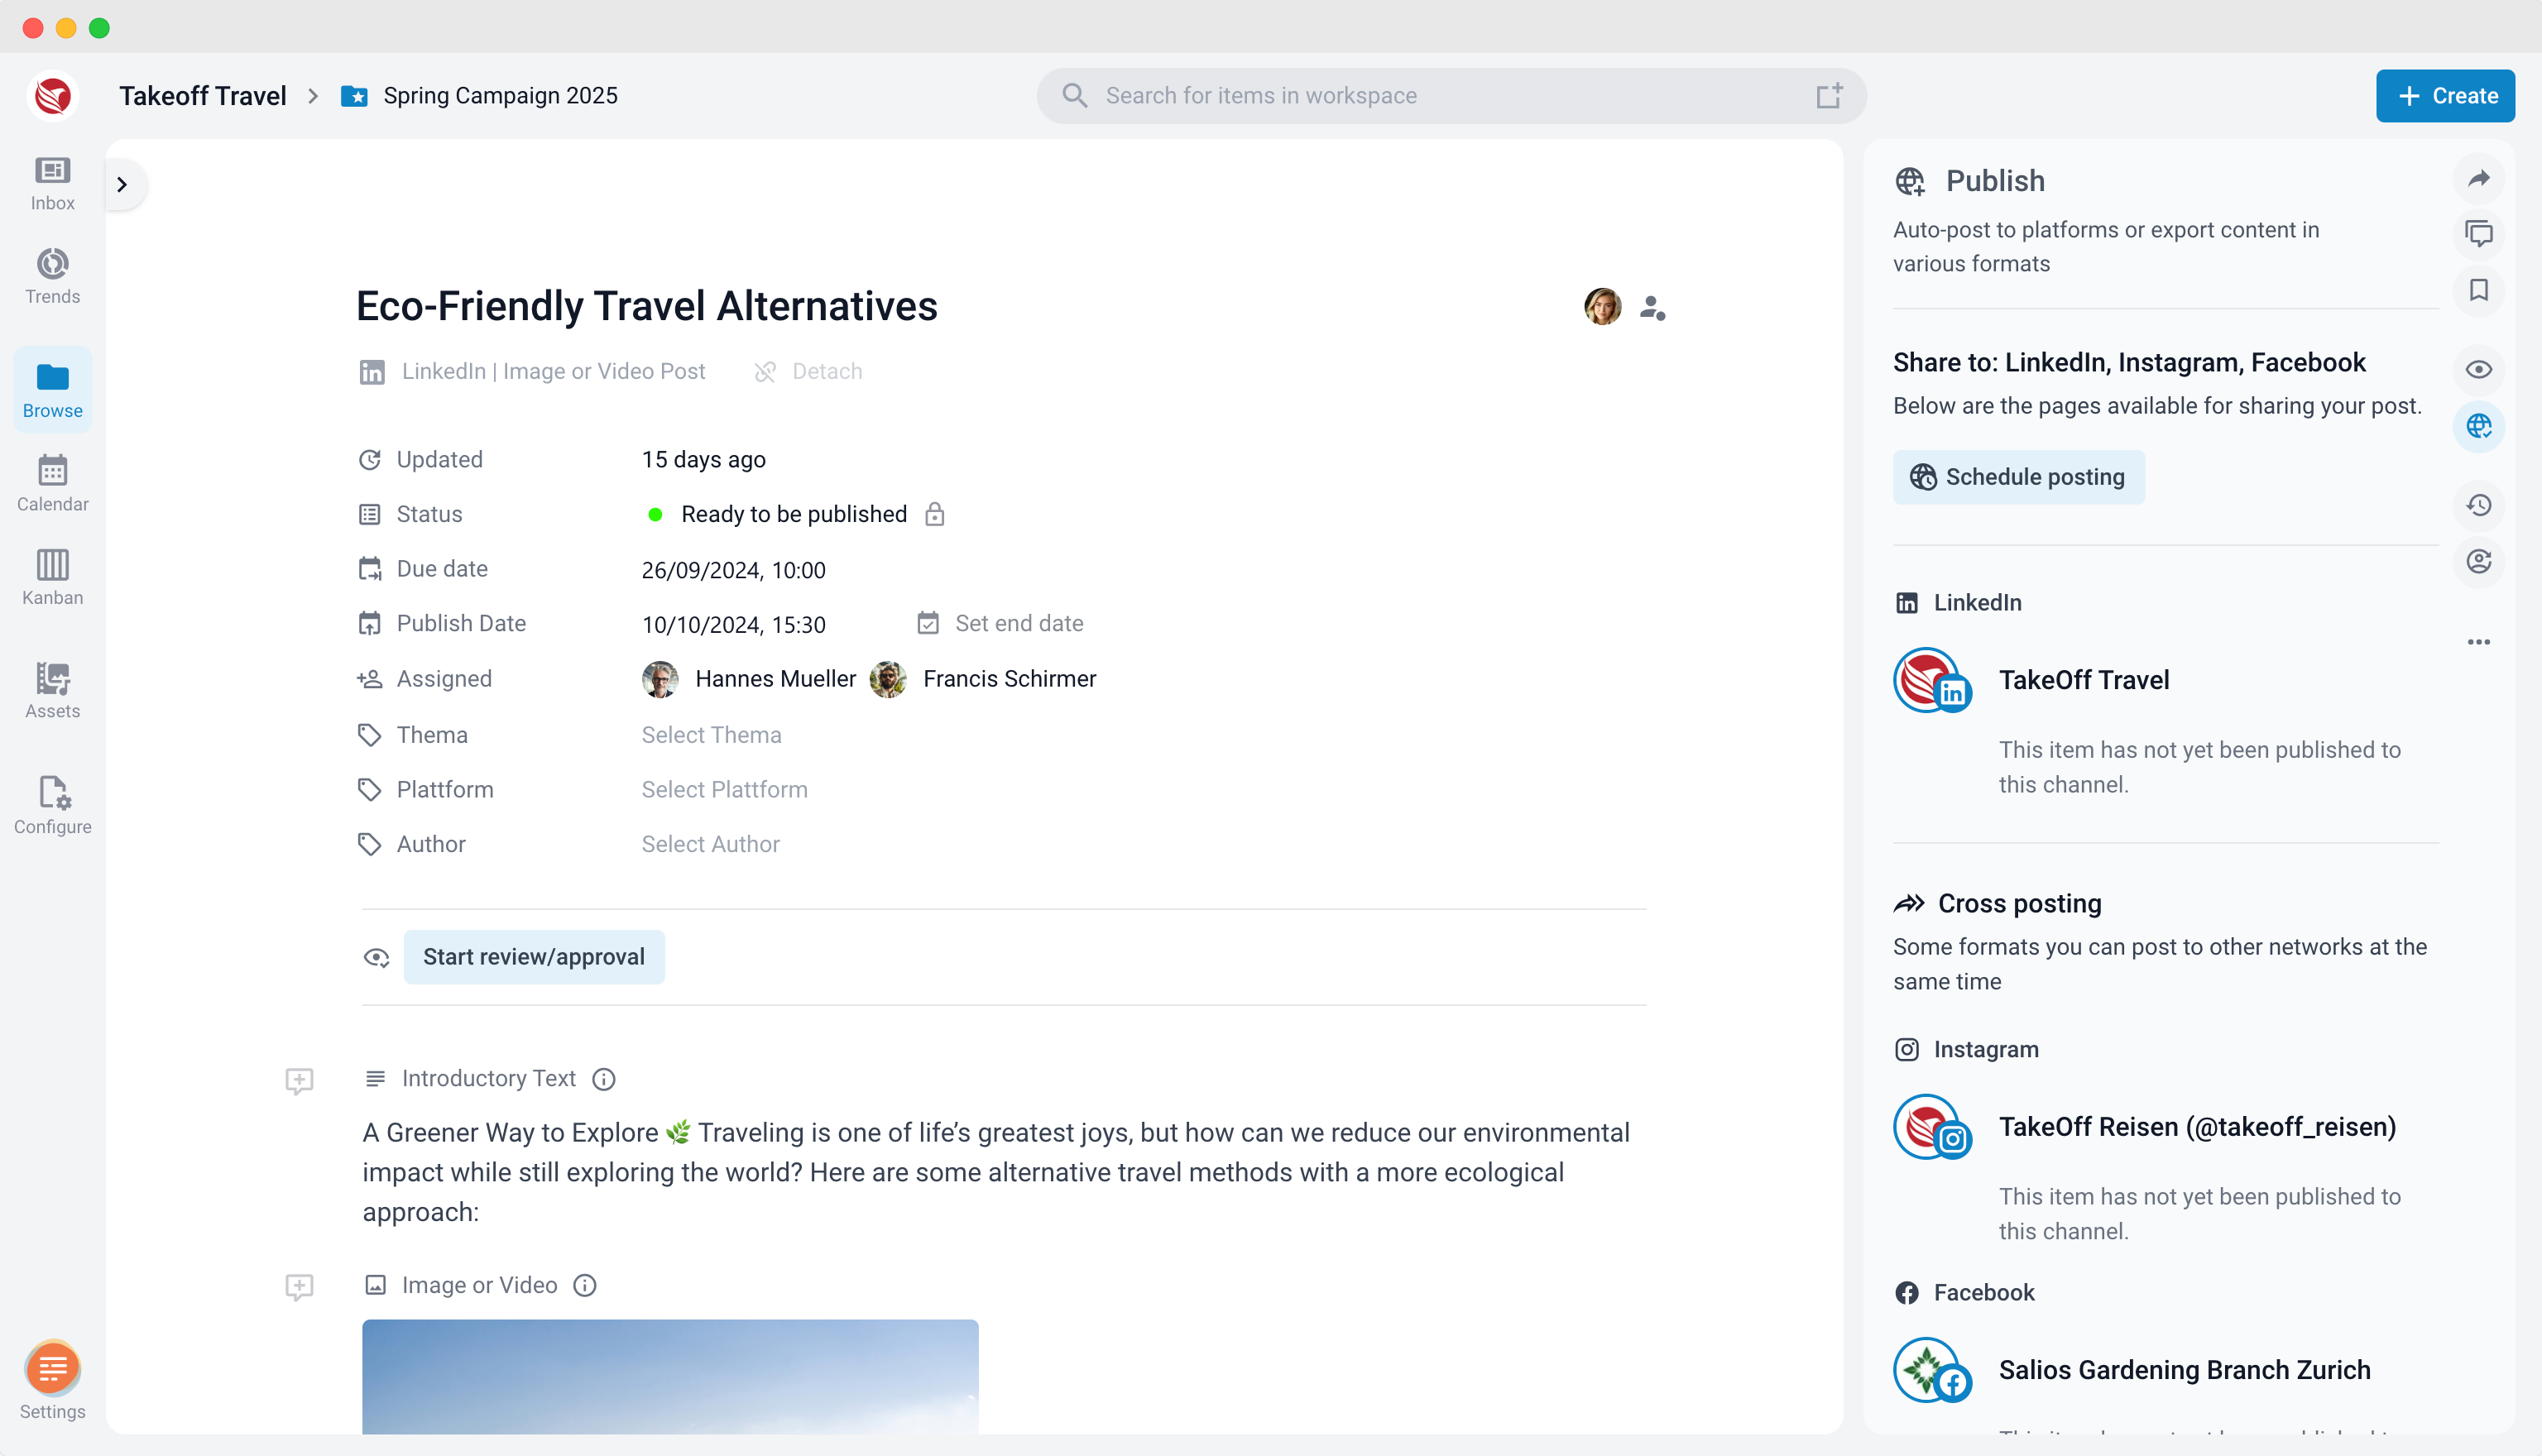
- The right sidebar will display all the connected pages or profiles available for publishing.
- Click "Schedule Posting", which opens a modal window showing a preview of the social media post.
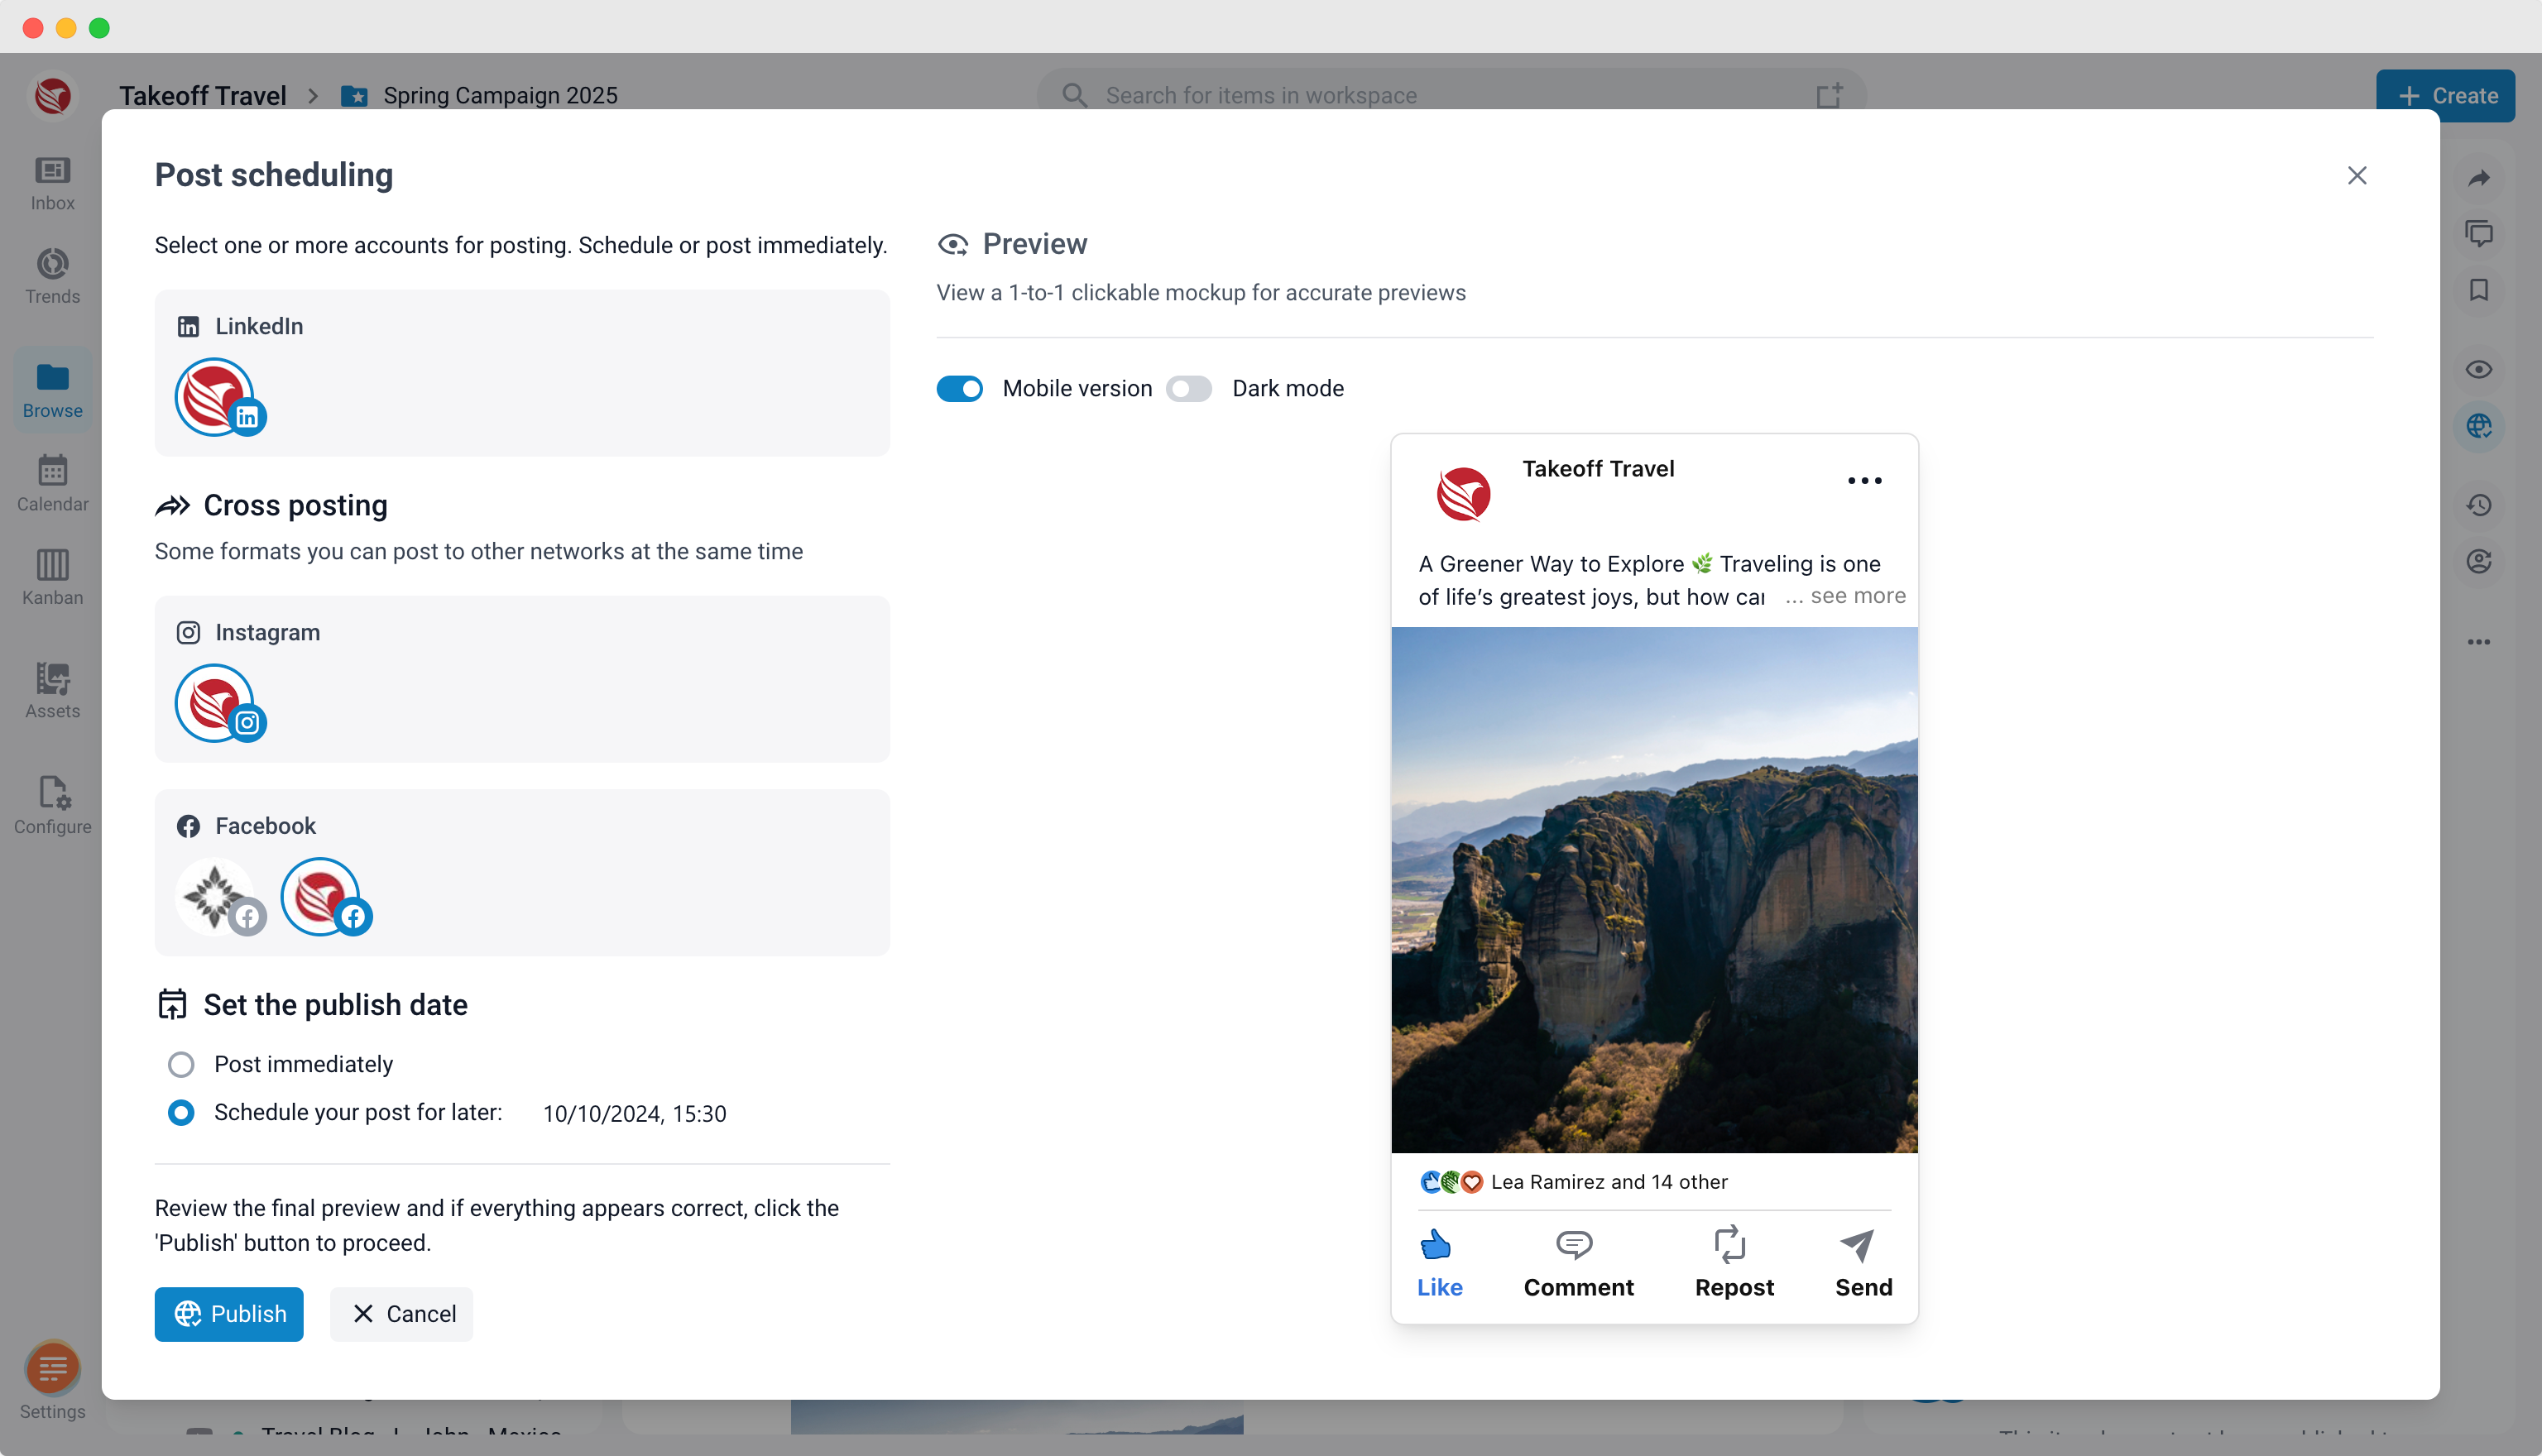
- Select the pages or profiles you want to publish to. You can choose multiple pages or profiles simultaneously for cross-platform posting.
- The right sidebar will display all the connected pages or profiles available for publishing.
- Schedule or Publish Immediately:
- In the modal window, you can choose to either publish immediately or schedule the post for later.
- Once you click "Publish," the modal closes, and a message reading "... being published" will appear in yellow in the right sidebar.
- Confirmation and Notifications:
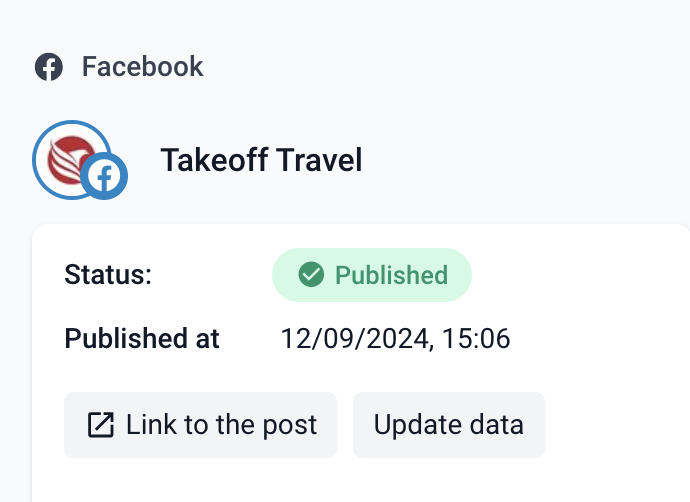
- When the post is successfully published, a green message will appear in the right sidebar showing the date and time of the posting.
- The user will also receive a notification in their Inbox and via email (if email notifications are enabled).
- Post-Launch Options:
- After the post is published, two buttons will appear:
- "Link to the Post": Opens the published post in a new browser window on the respective social media platform.
- "Update Data": Updates the post's analytics and comments. ContentPaul automatically updates this data every few hours, but this button allows users to fetch the latest information immediately.
- After the post is published, two buttons will appear:
Handling Posting Failures
In the event of a failed post, ContentPaul will notify the user via Inbox and email (if email notifications are enabled). A red error message will also appear in the right sidebar, along with the date and time of the error. Additionally, the error message from the social media platform will be displayed, helping to identify the issue.
Common reasons for failures include:
- Expired integrations (requiring re-authentication of the social media account)
- Missing elements (e.g., images or videos not uploaded)
- Unsupported formats (wrong image or video specifications)
By following these steps and understanding the system’s notifications, users can smoothly automate their social media posts with ContentPaul while ensuring prompt resolution of any issues.