
Create Templates
Learn to create templates, add content blocks, configure settings, and manage template availability efficiently.
To create a new template, follow these steps:
- Navigate to the Templates Section
- Access Permissions: This feature is accessible only to users with the roles of Project Manager or Admin.
- How to Access: Navigate to the Configure > Templates section from the main menu.
- Initiate Template Creation
- Click "Create": To start building your template, press the Create button.
- Name Your Template: Enter a unique and descriptive name for your template. After naming, the template editor will open automatically.
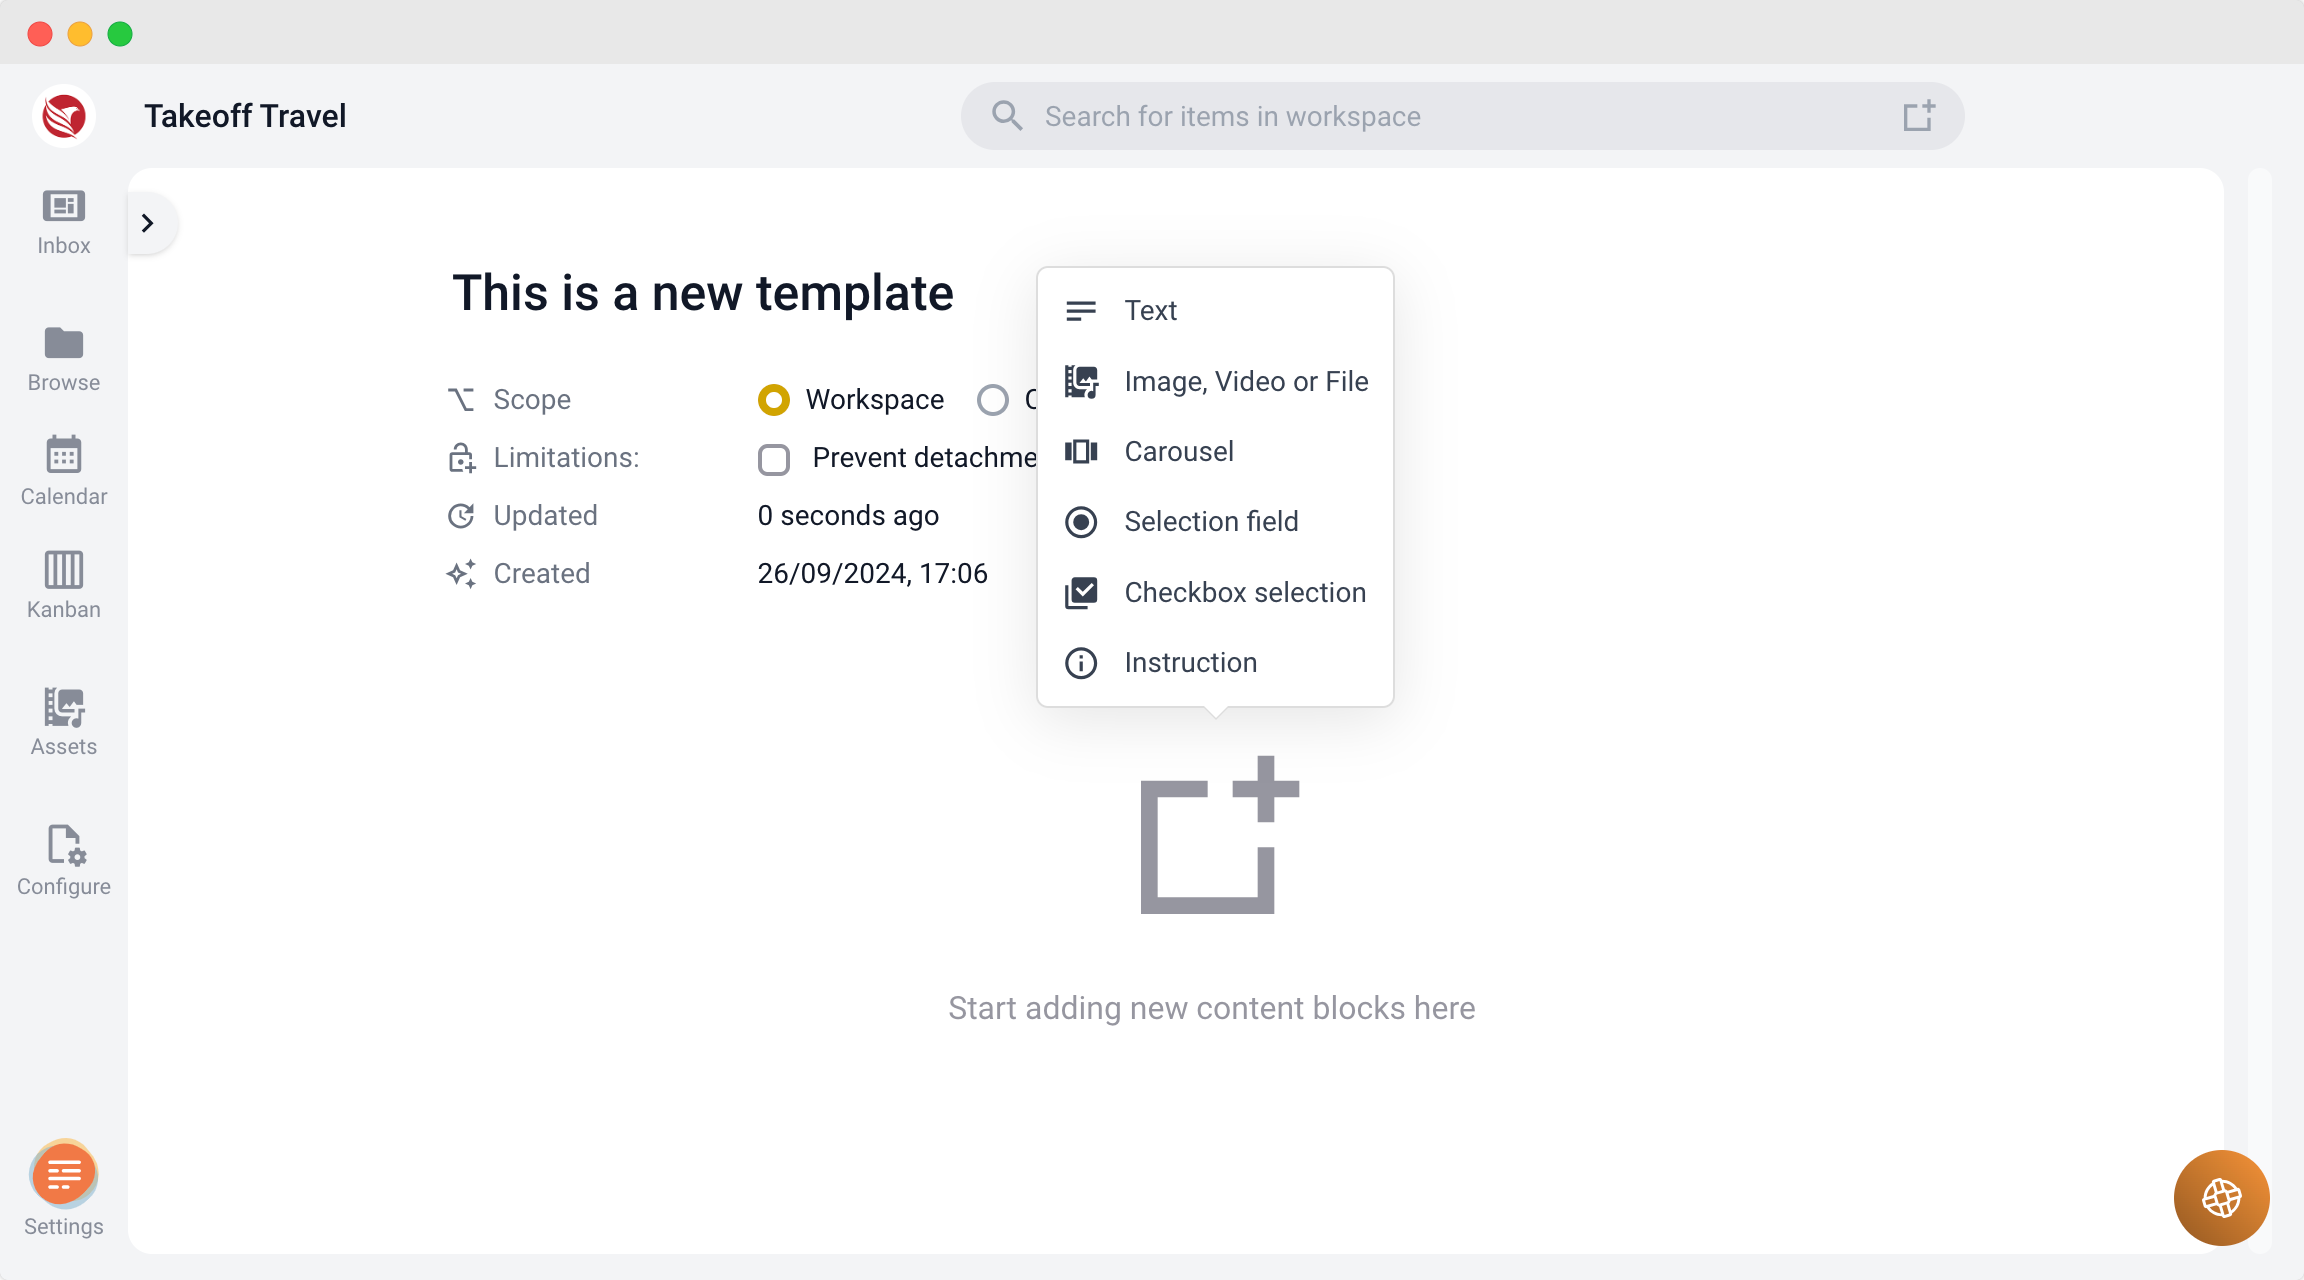
- Add Content Blocks
- Insert Content Blocks: In the template editor, click on the large "+" symbol to view the list of available content blocks.
- Select Content Block Type: Choose the type of content block you wish to include in your template.
- Configure Content Block Settings
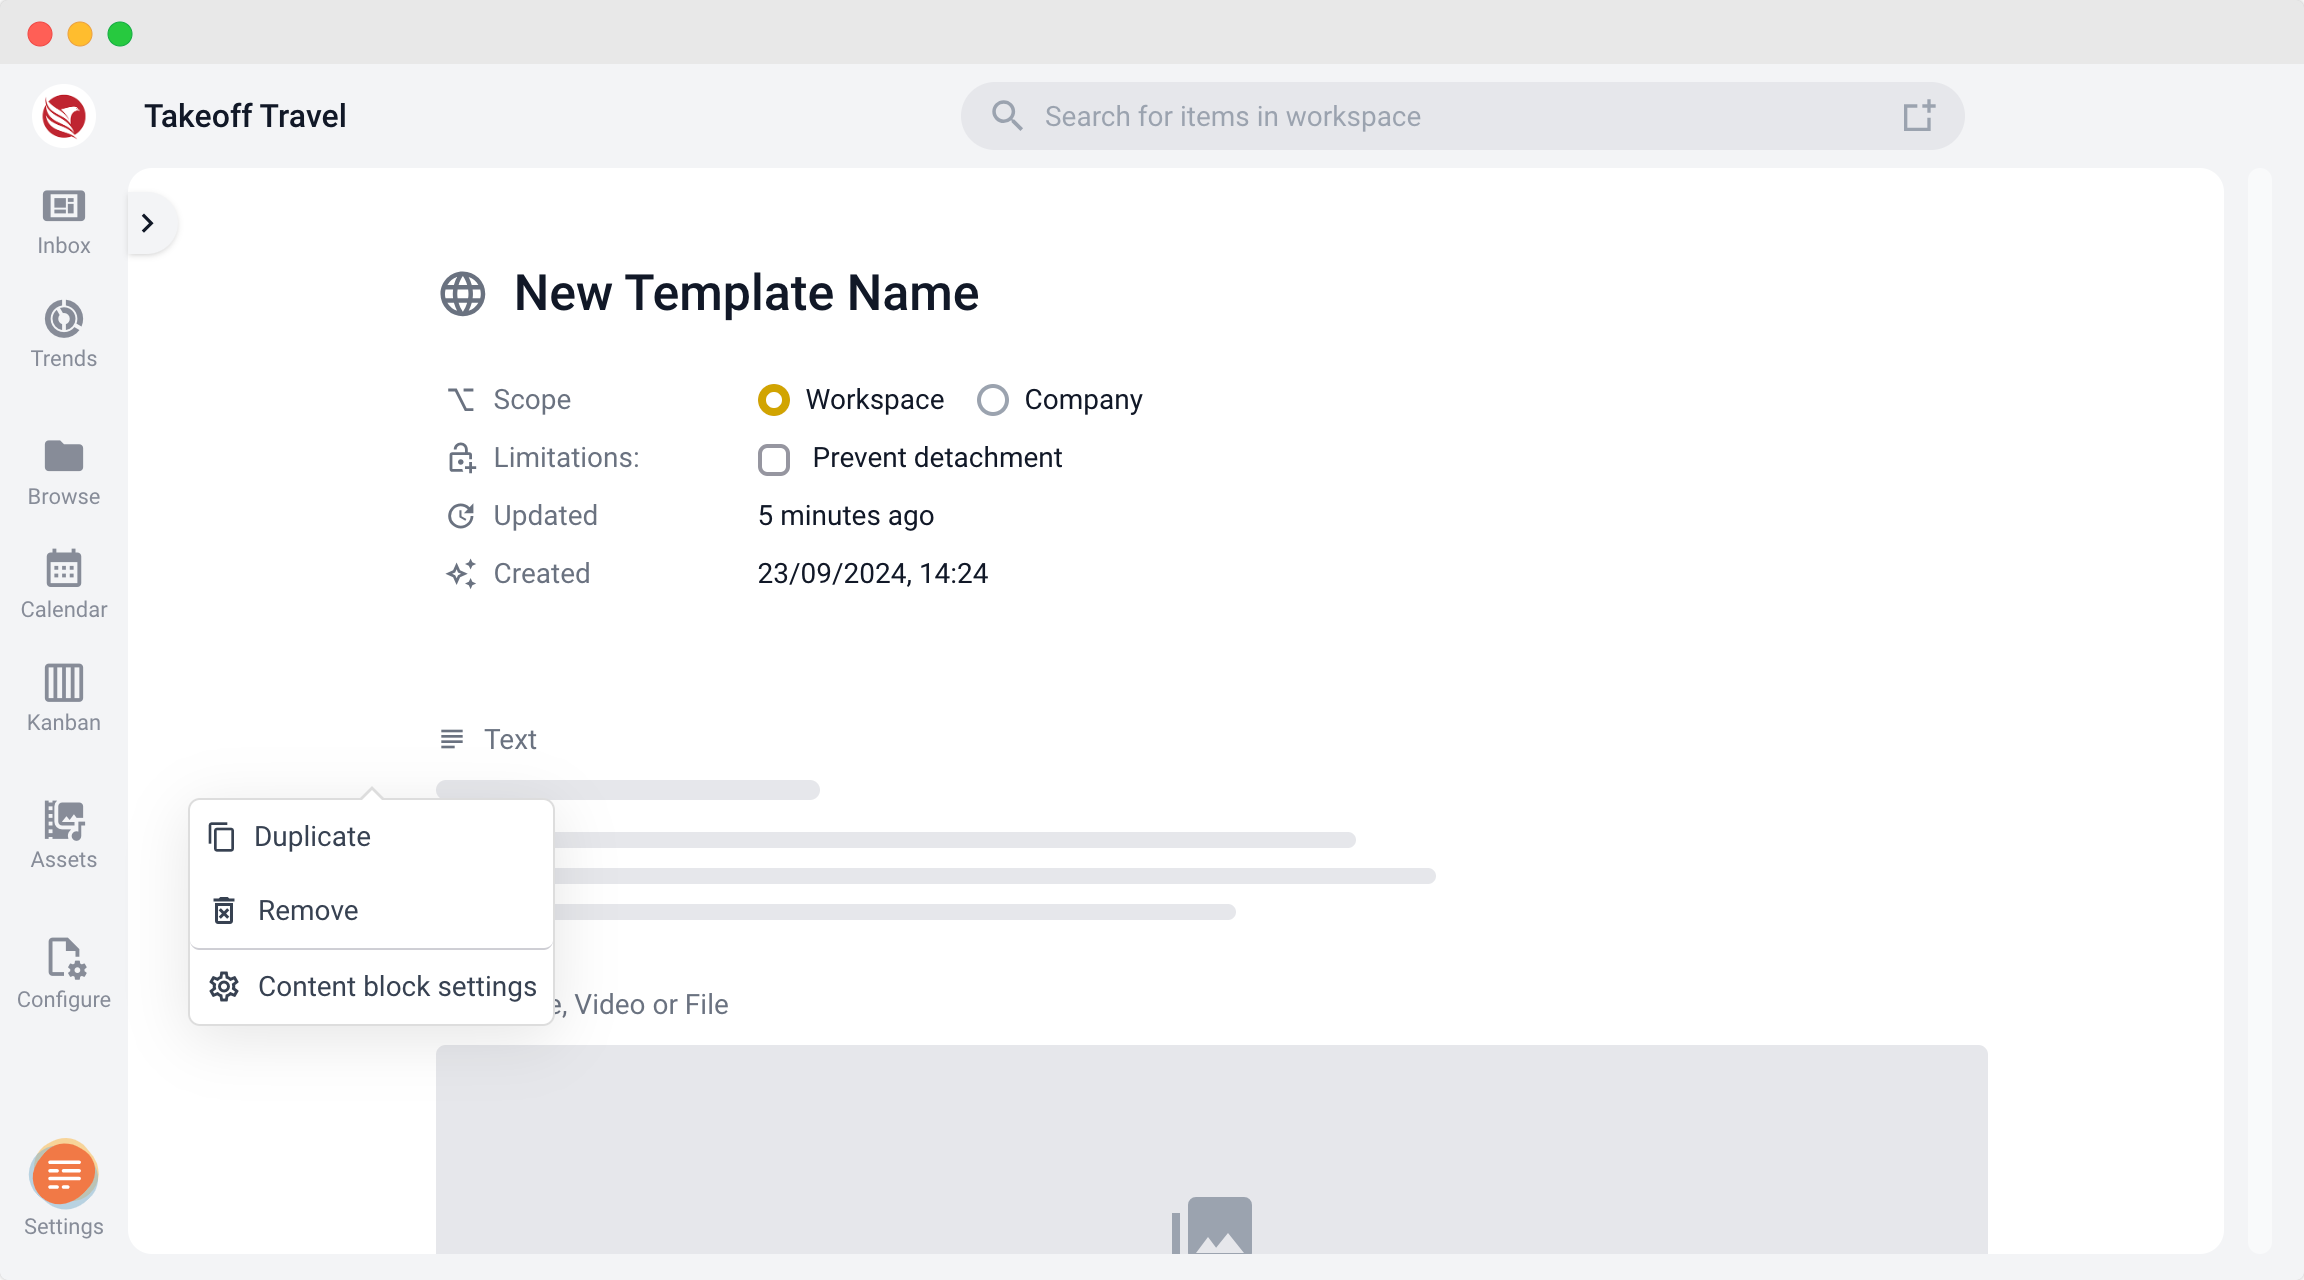
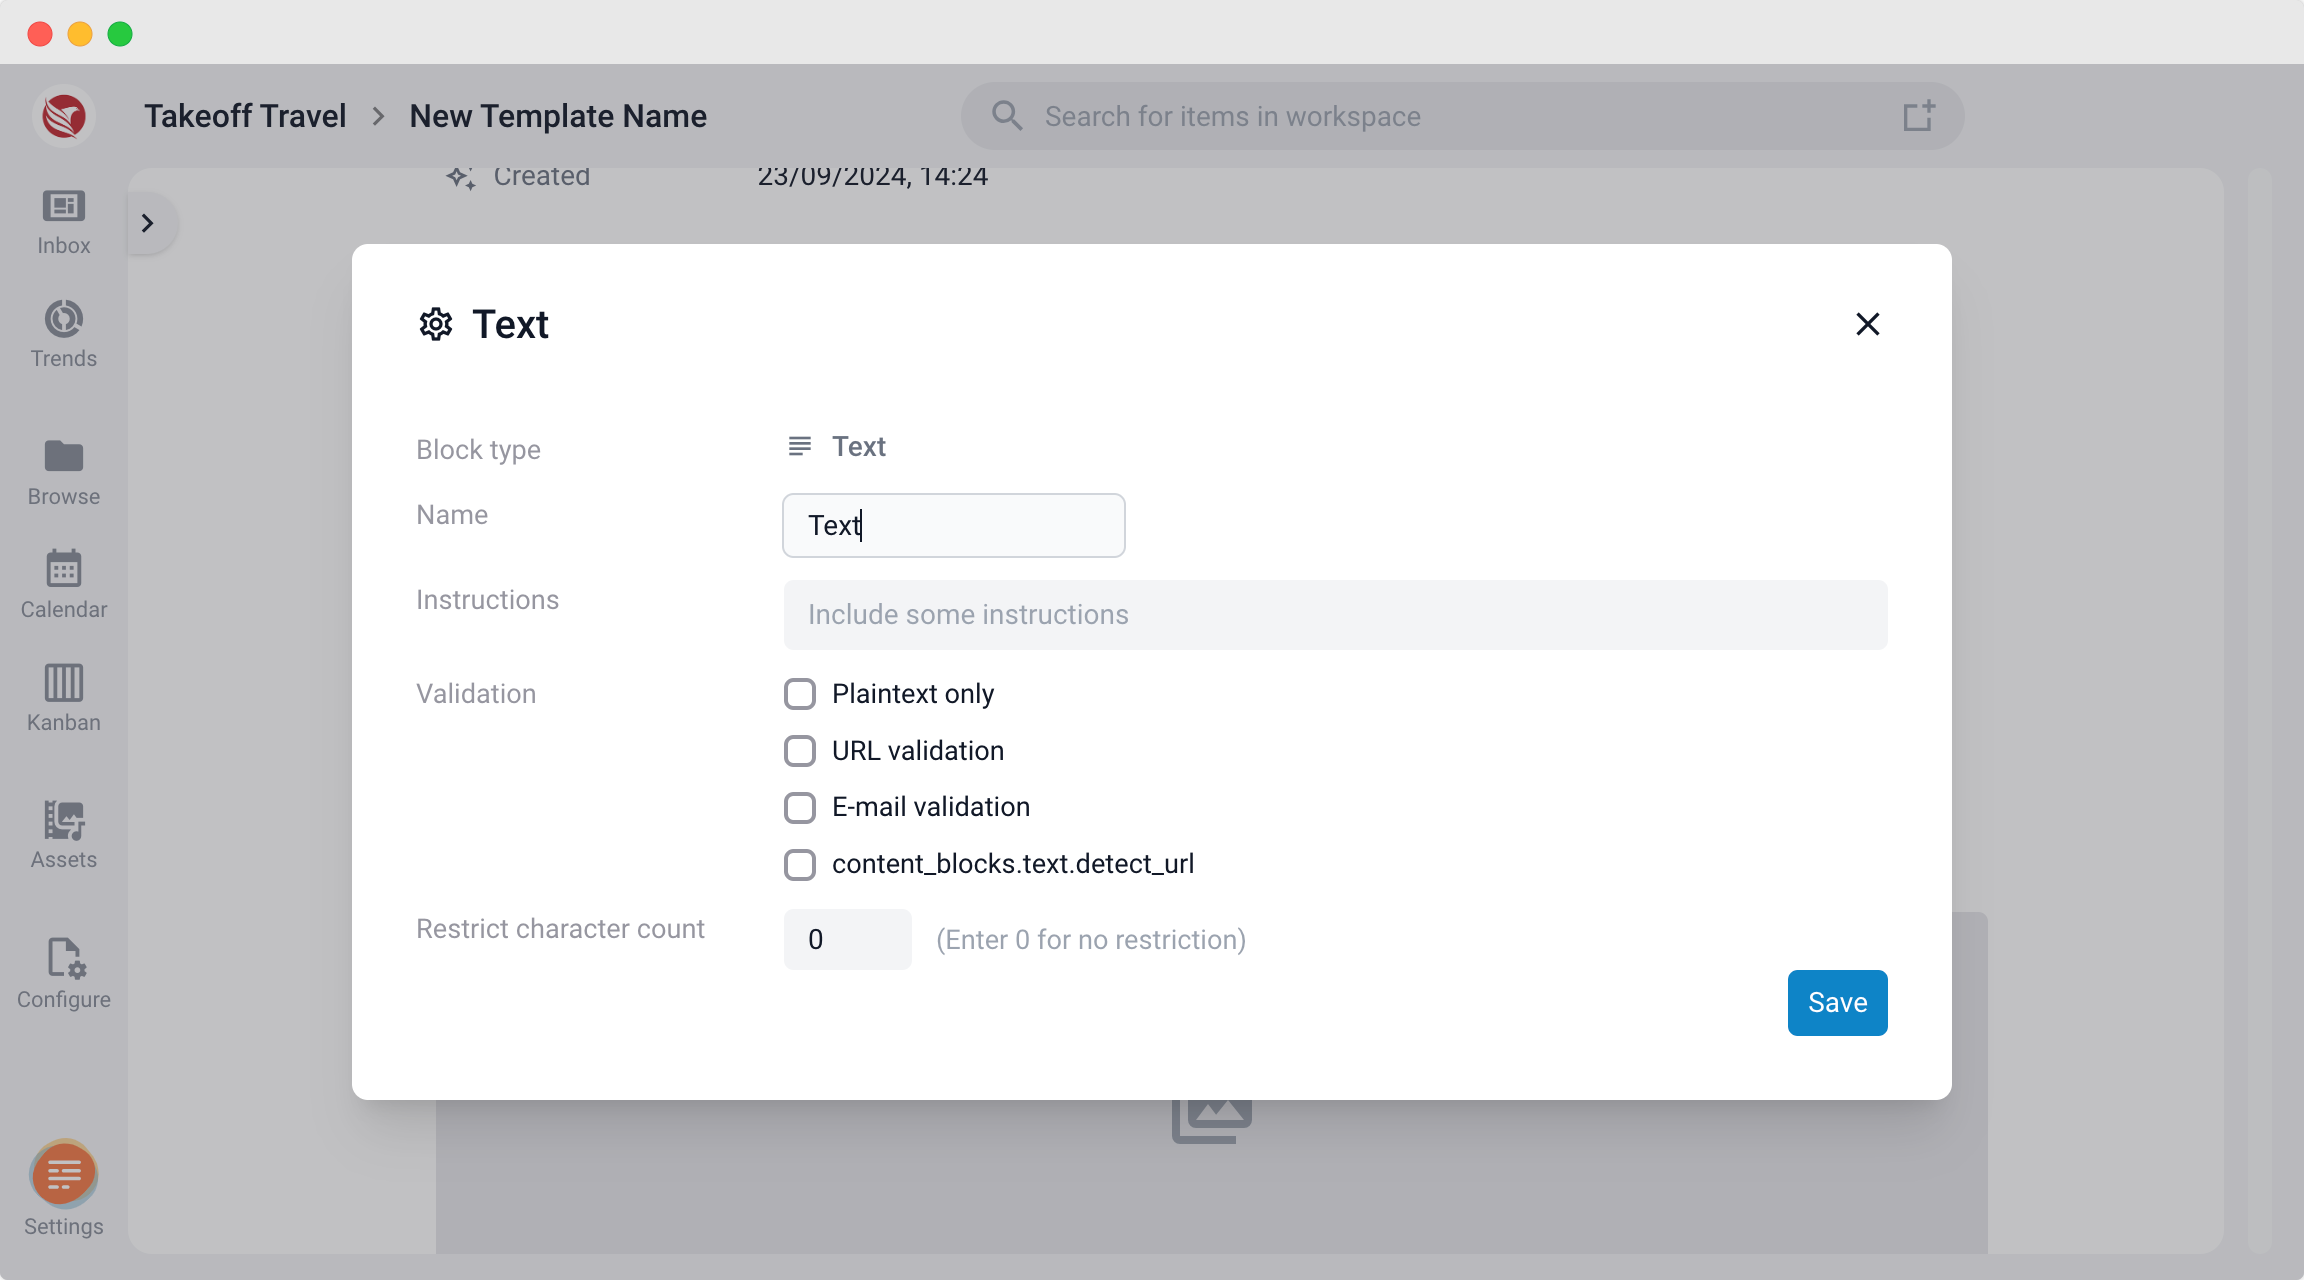
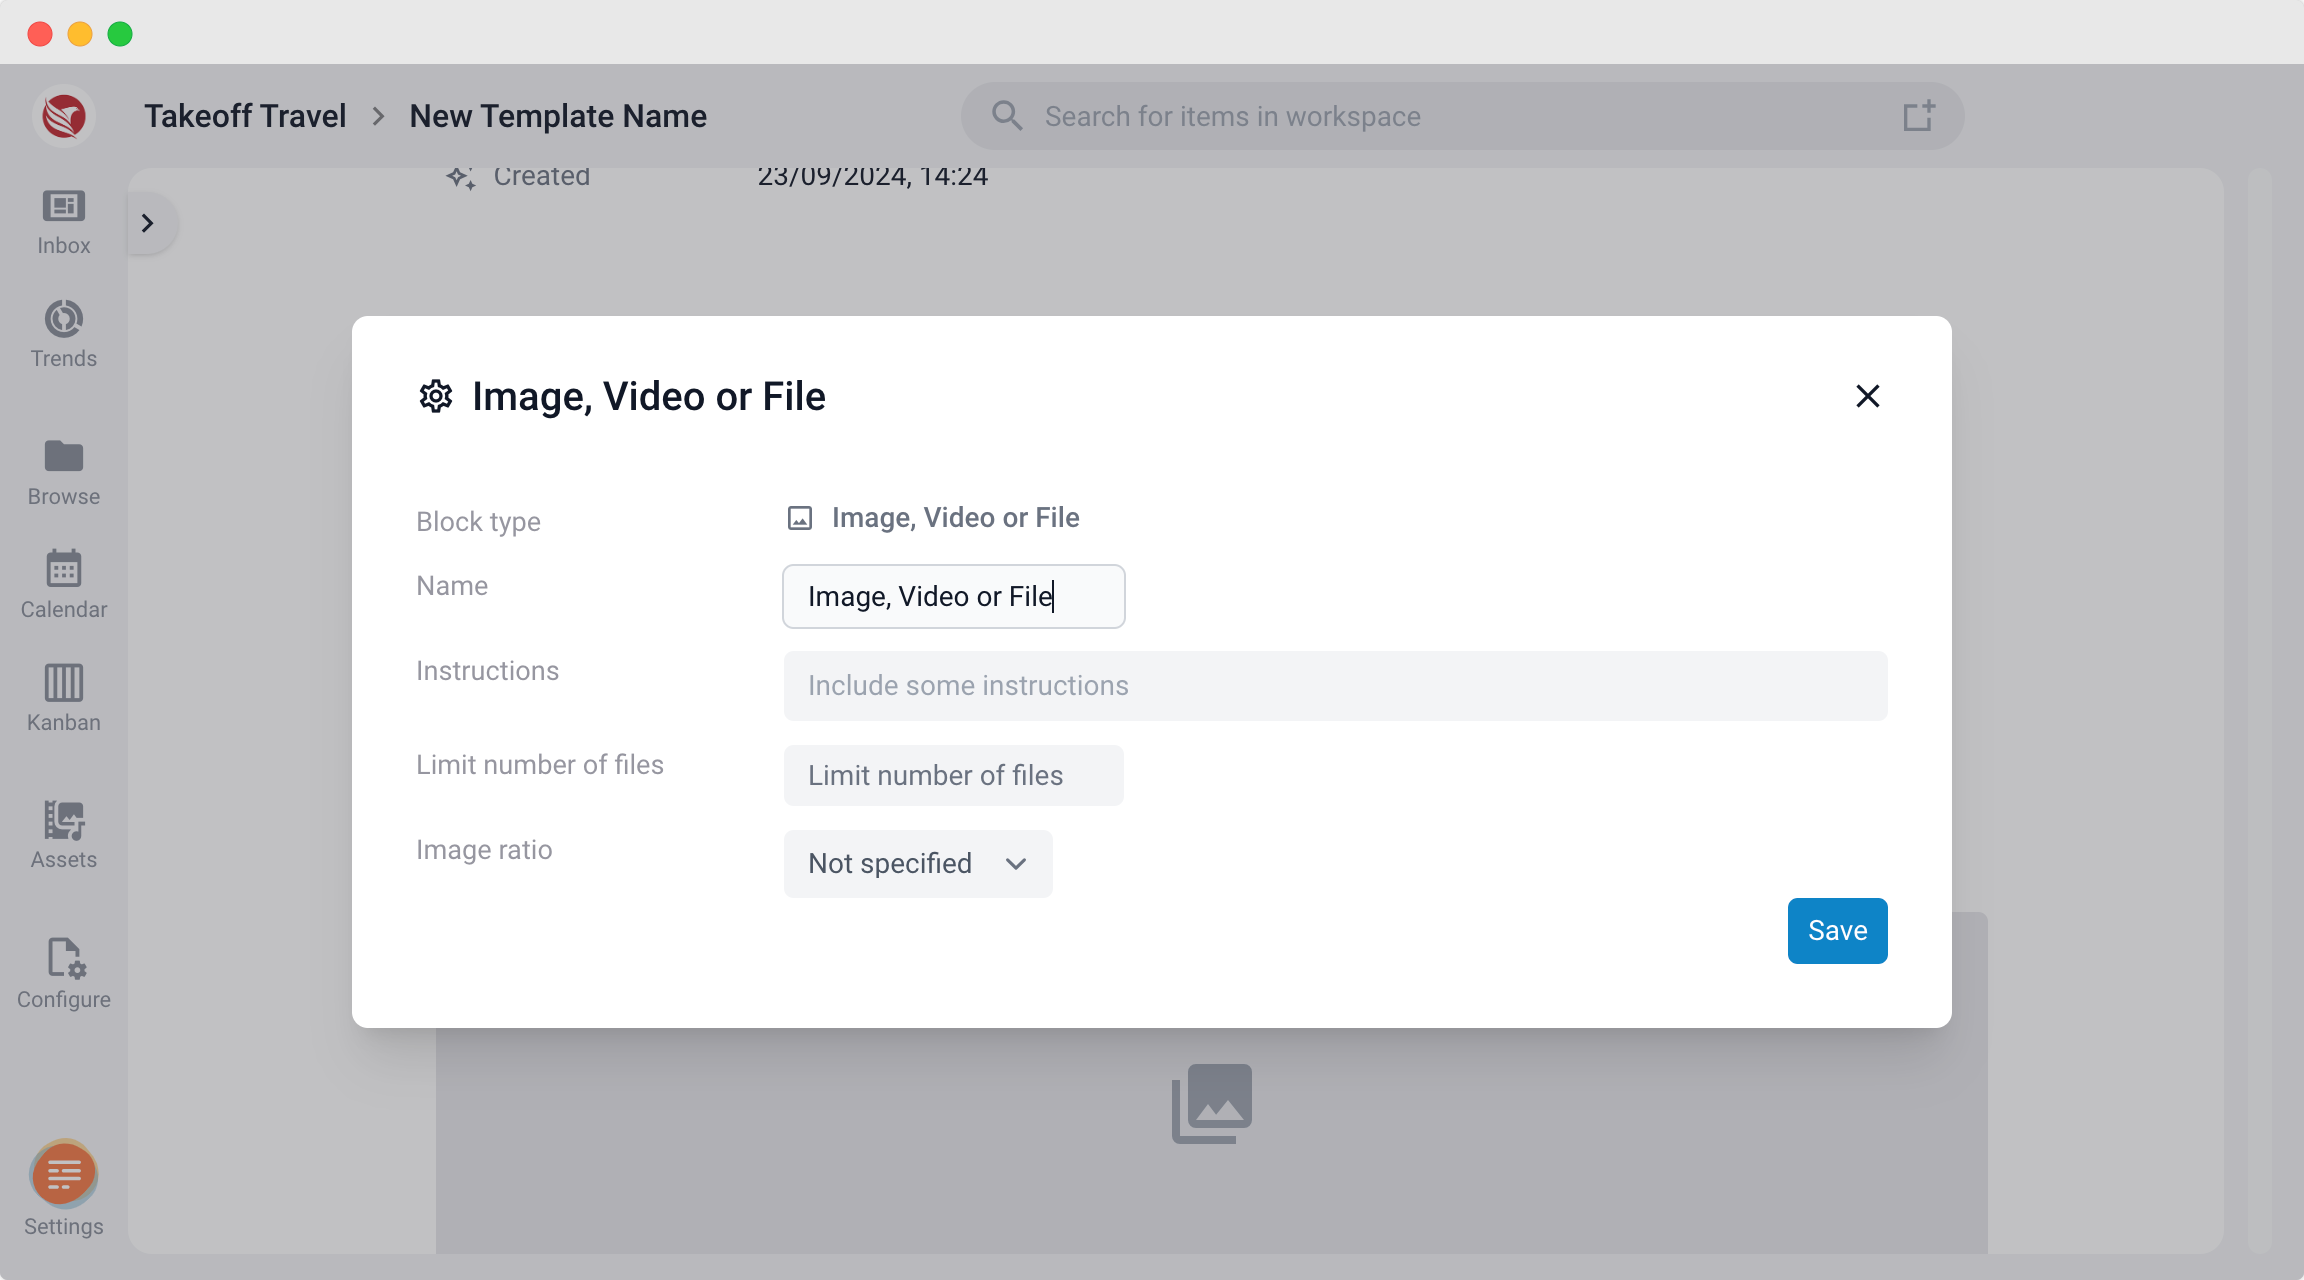
- Automatic Settings Dialog: Once a content block is selected, its settings dialog will automatically open.
- Modify Settings: Depending on the type of content block, you can configure various settings. These settings can be modified later by clicking the grab symbol on the left side of the block and selecting Content Block Settings.
Settings per Content Block Type:
Assign a label to each content block. This label appears above the content block in the editor, helping to organize the input fields for users working on these items.
- Text Content Blocks:
- Select Rich Text or Text Only.
- Character Limits: Set a maximum character limit to ensure compliance with content format restrictions.
- Validation: Enable validation for email addresses and URLs.
- Assets Content Blocks:
- Set the Number of Files that can be uploaded.
- Choose Image Ratio Requirements (e.g., 1:1, 16:9, 9:16).
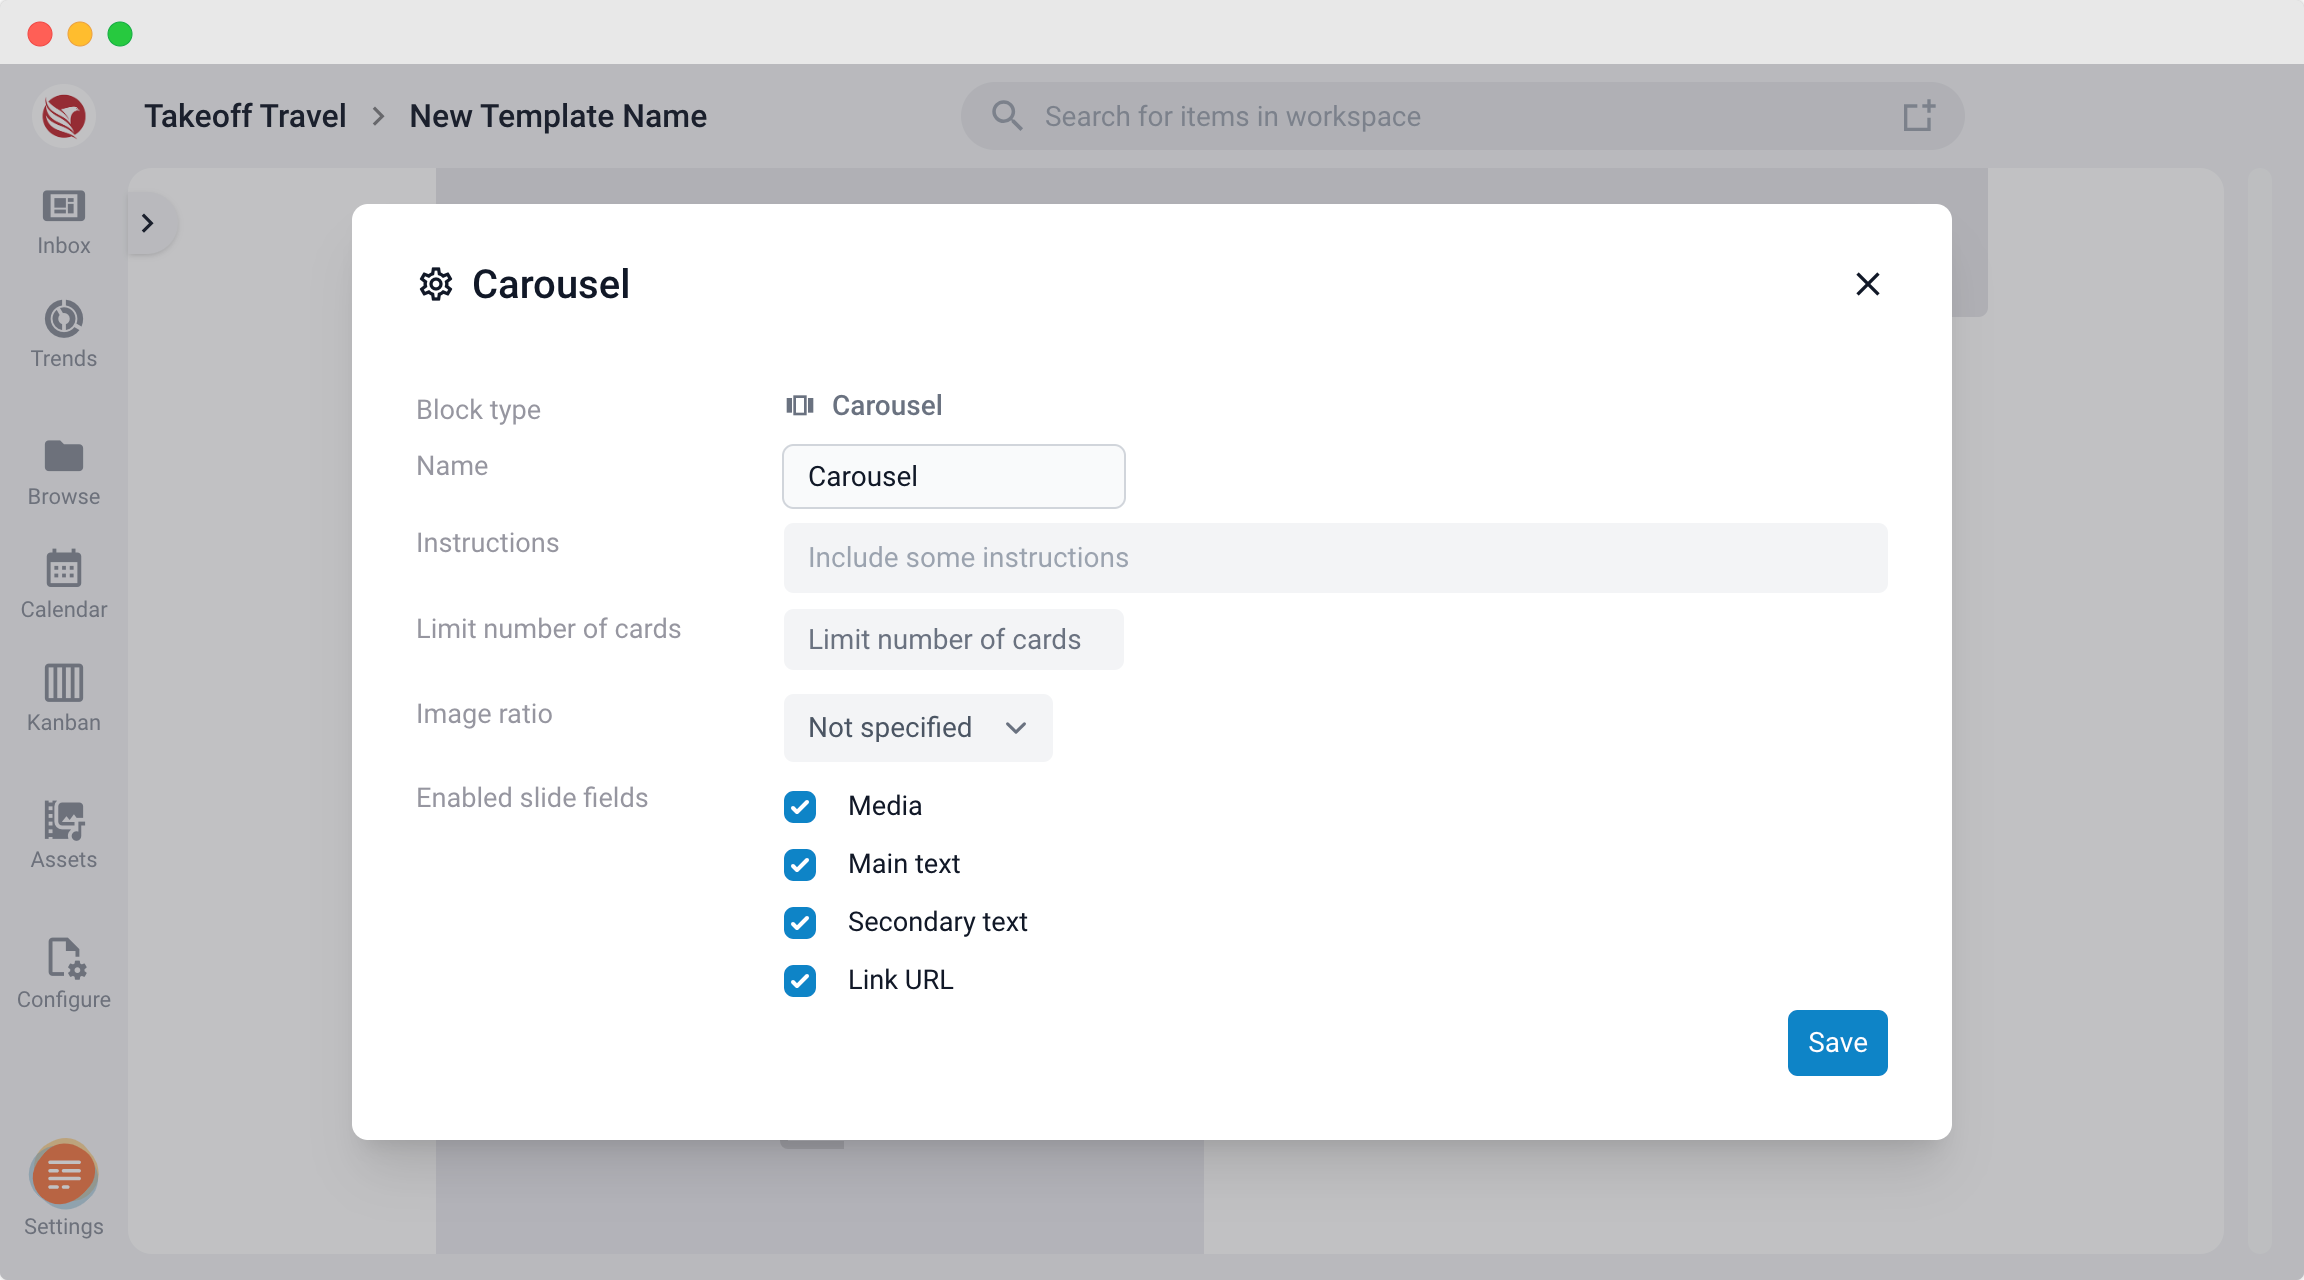
- Carousel Content Blocks:
- Limit the Number of Cards.
- Set the Image Ratio.
- Configure fields like Asset, Main Text, Secondary Text, and Link URL.
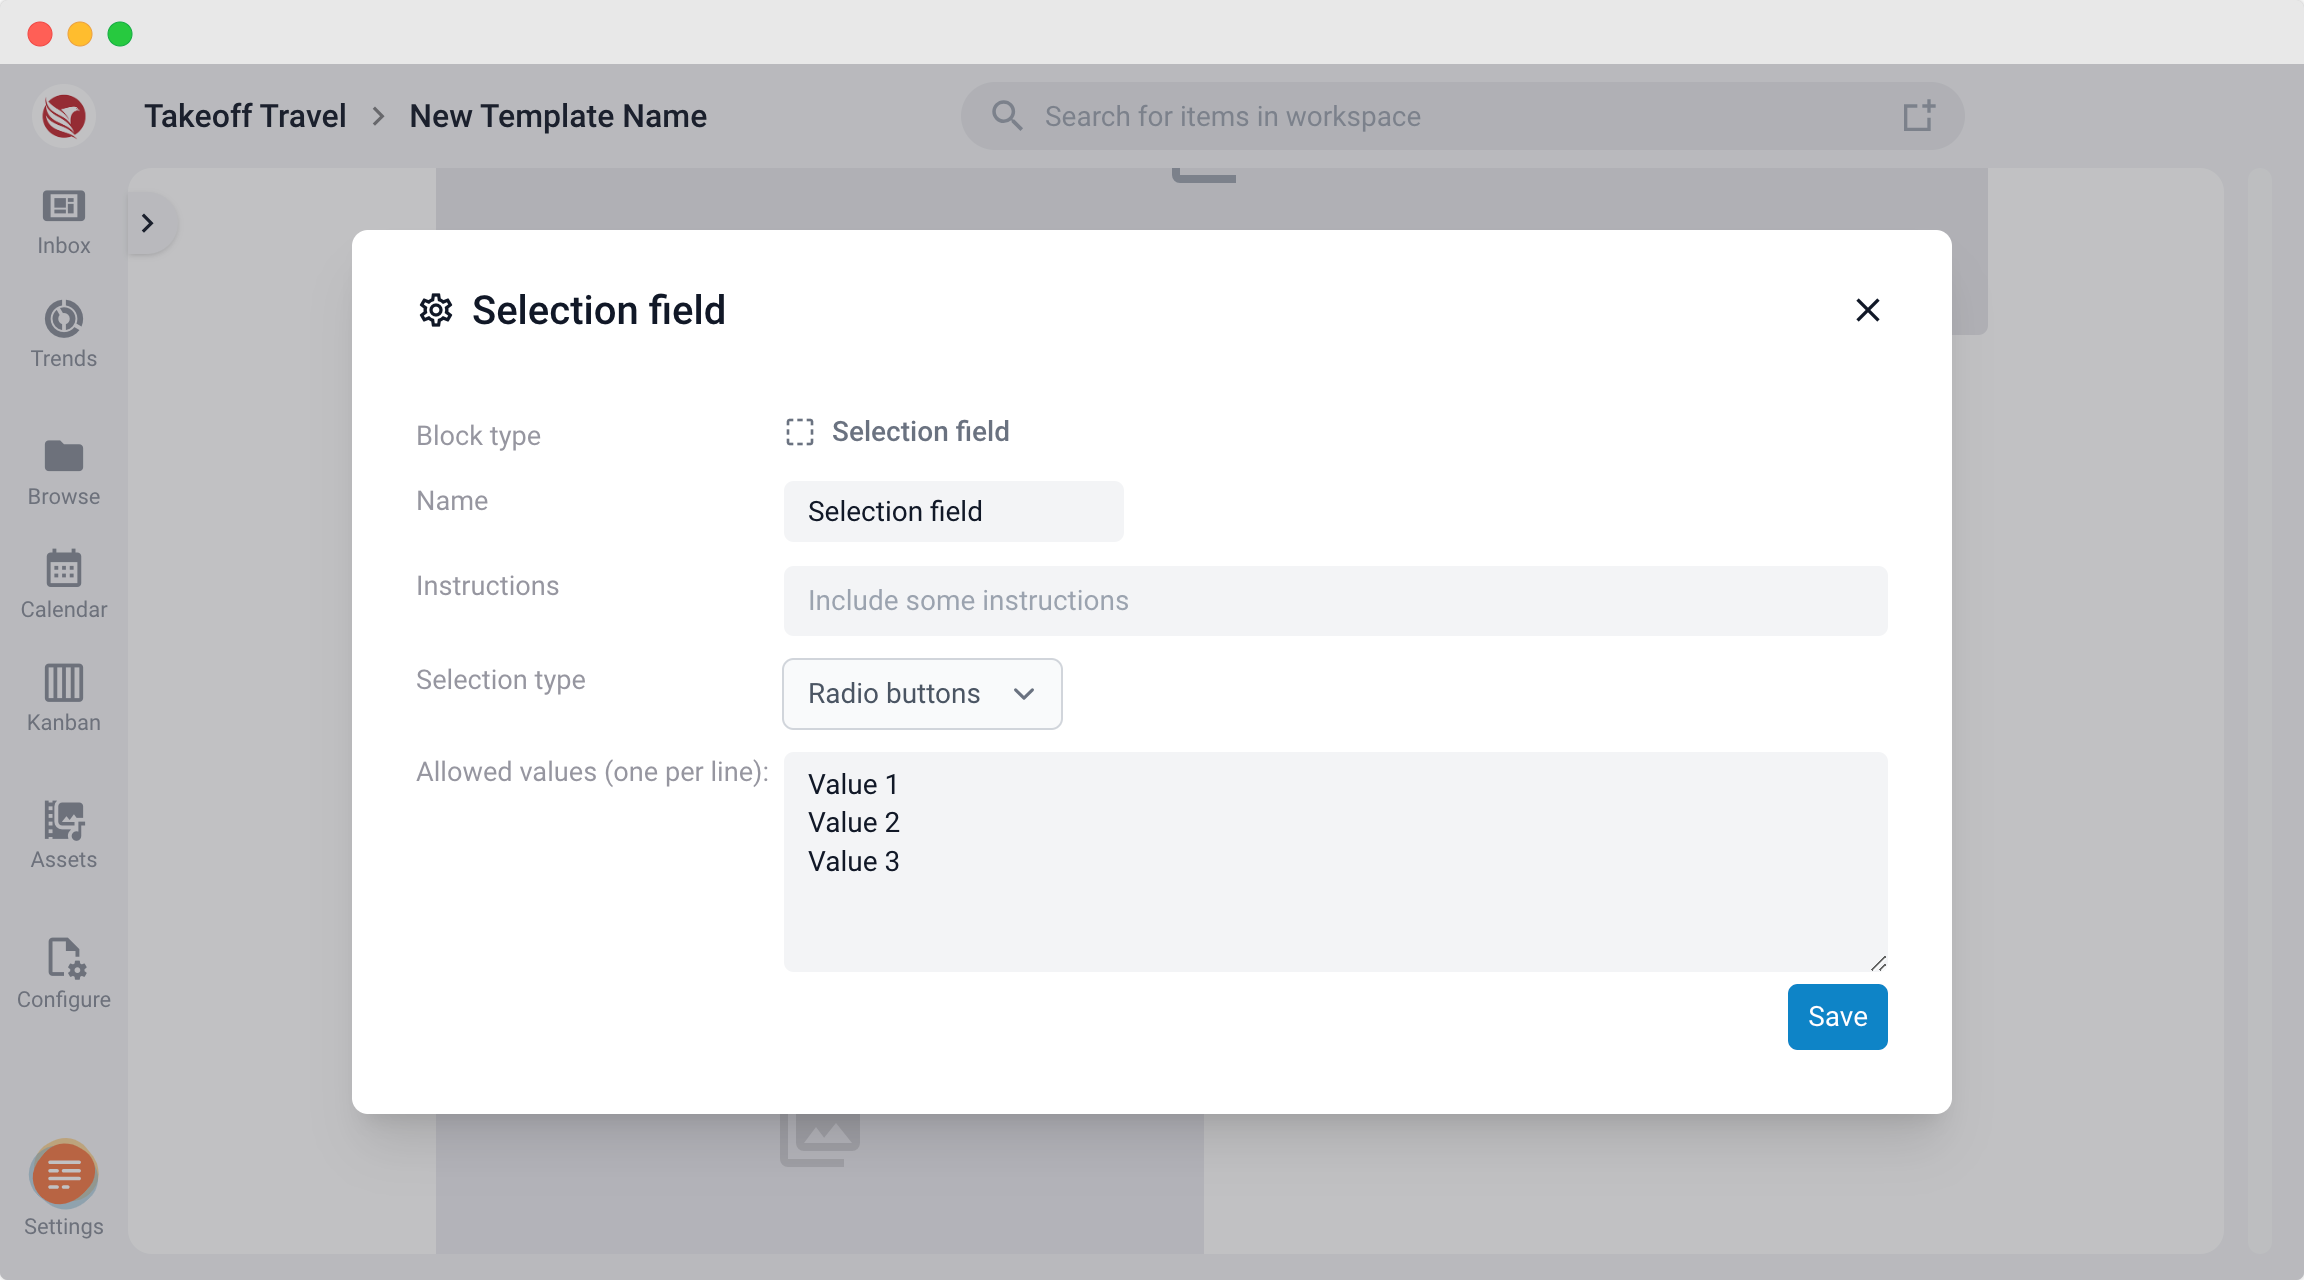
- Selection Field:
- Choose between a Dropdown List or Radio Button.
- Enter the values to be displayed in the selection field.
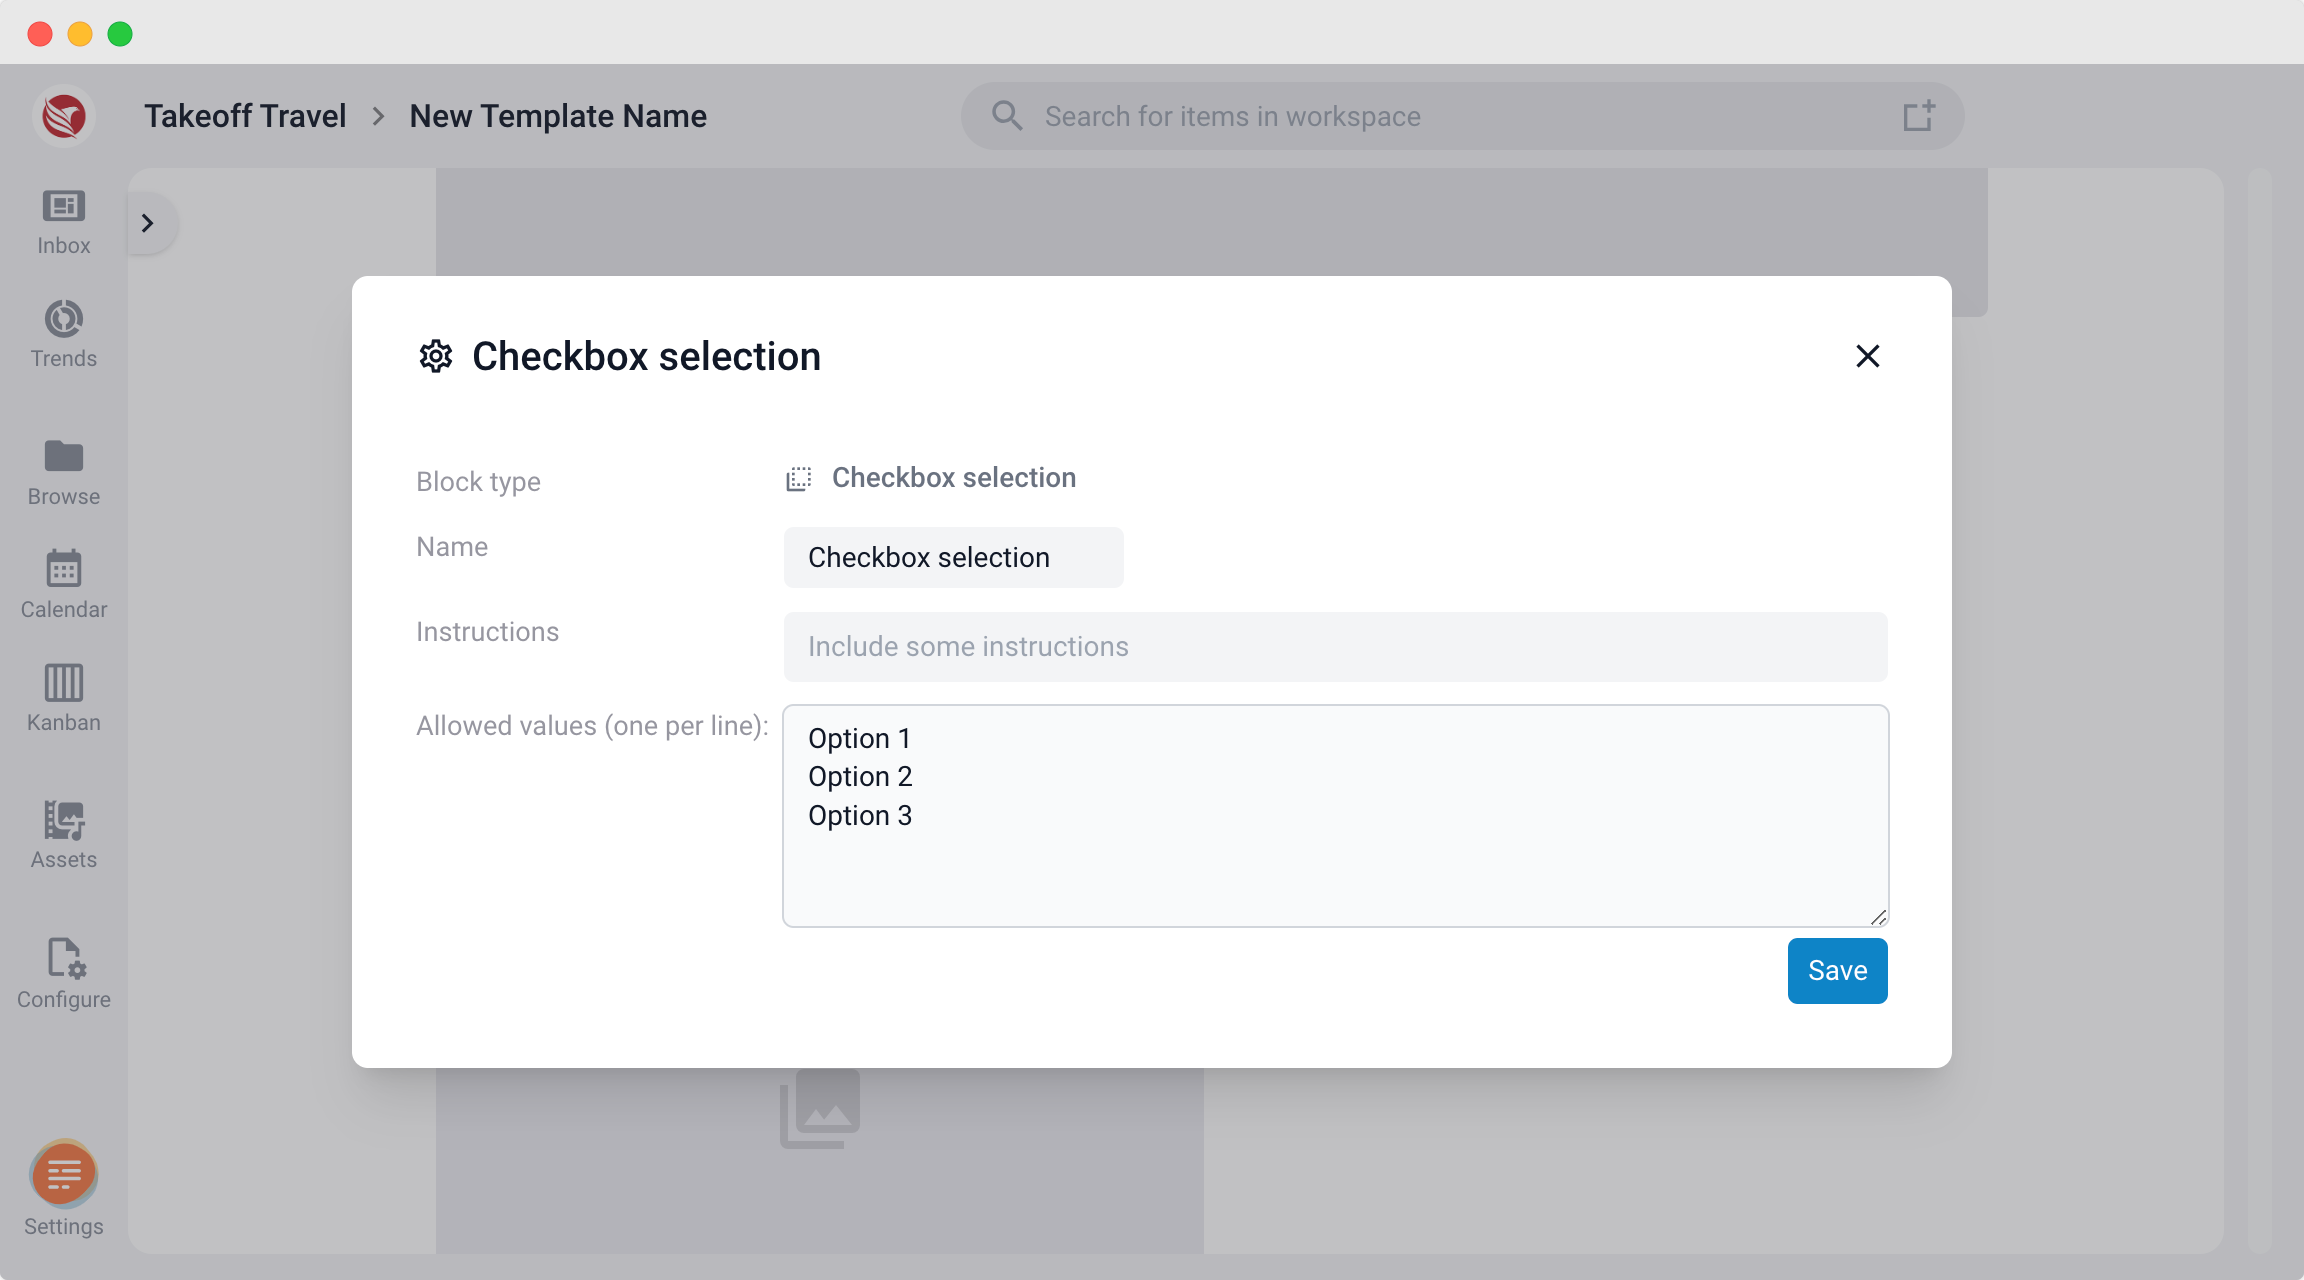
- Checkbox Selection:
- Simply enter the values that can be selected.
- Simply enter the values that can be selected.
- Instructions: For each content block, you can add instructions. These will appear as a help icon next to the label, which users can hover over to see the instructions.
Finalize the Template
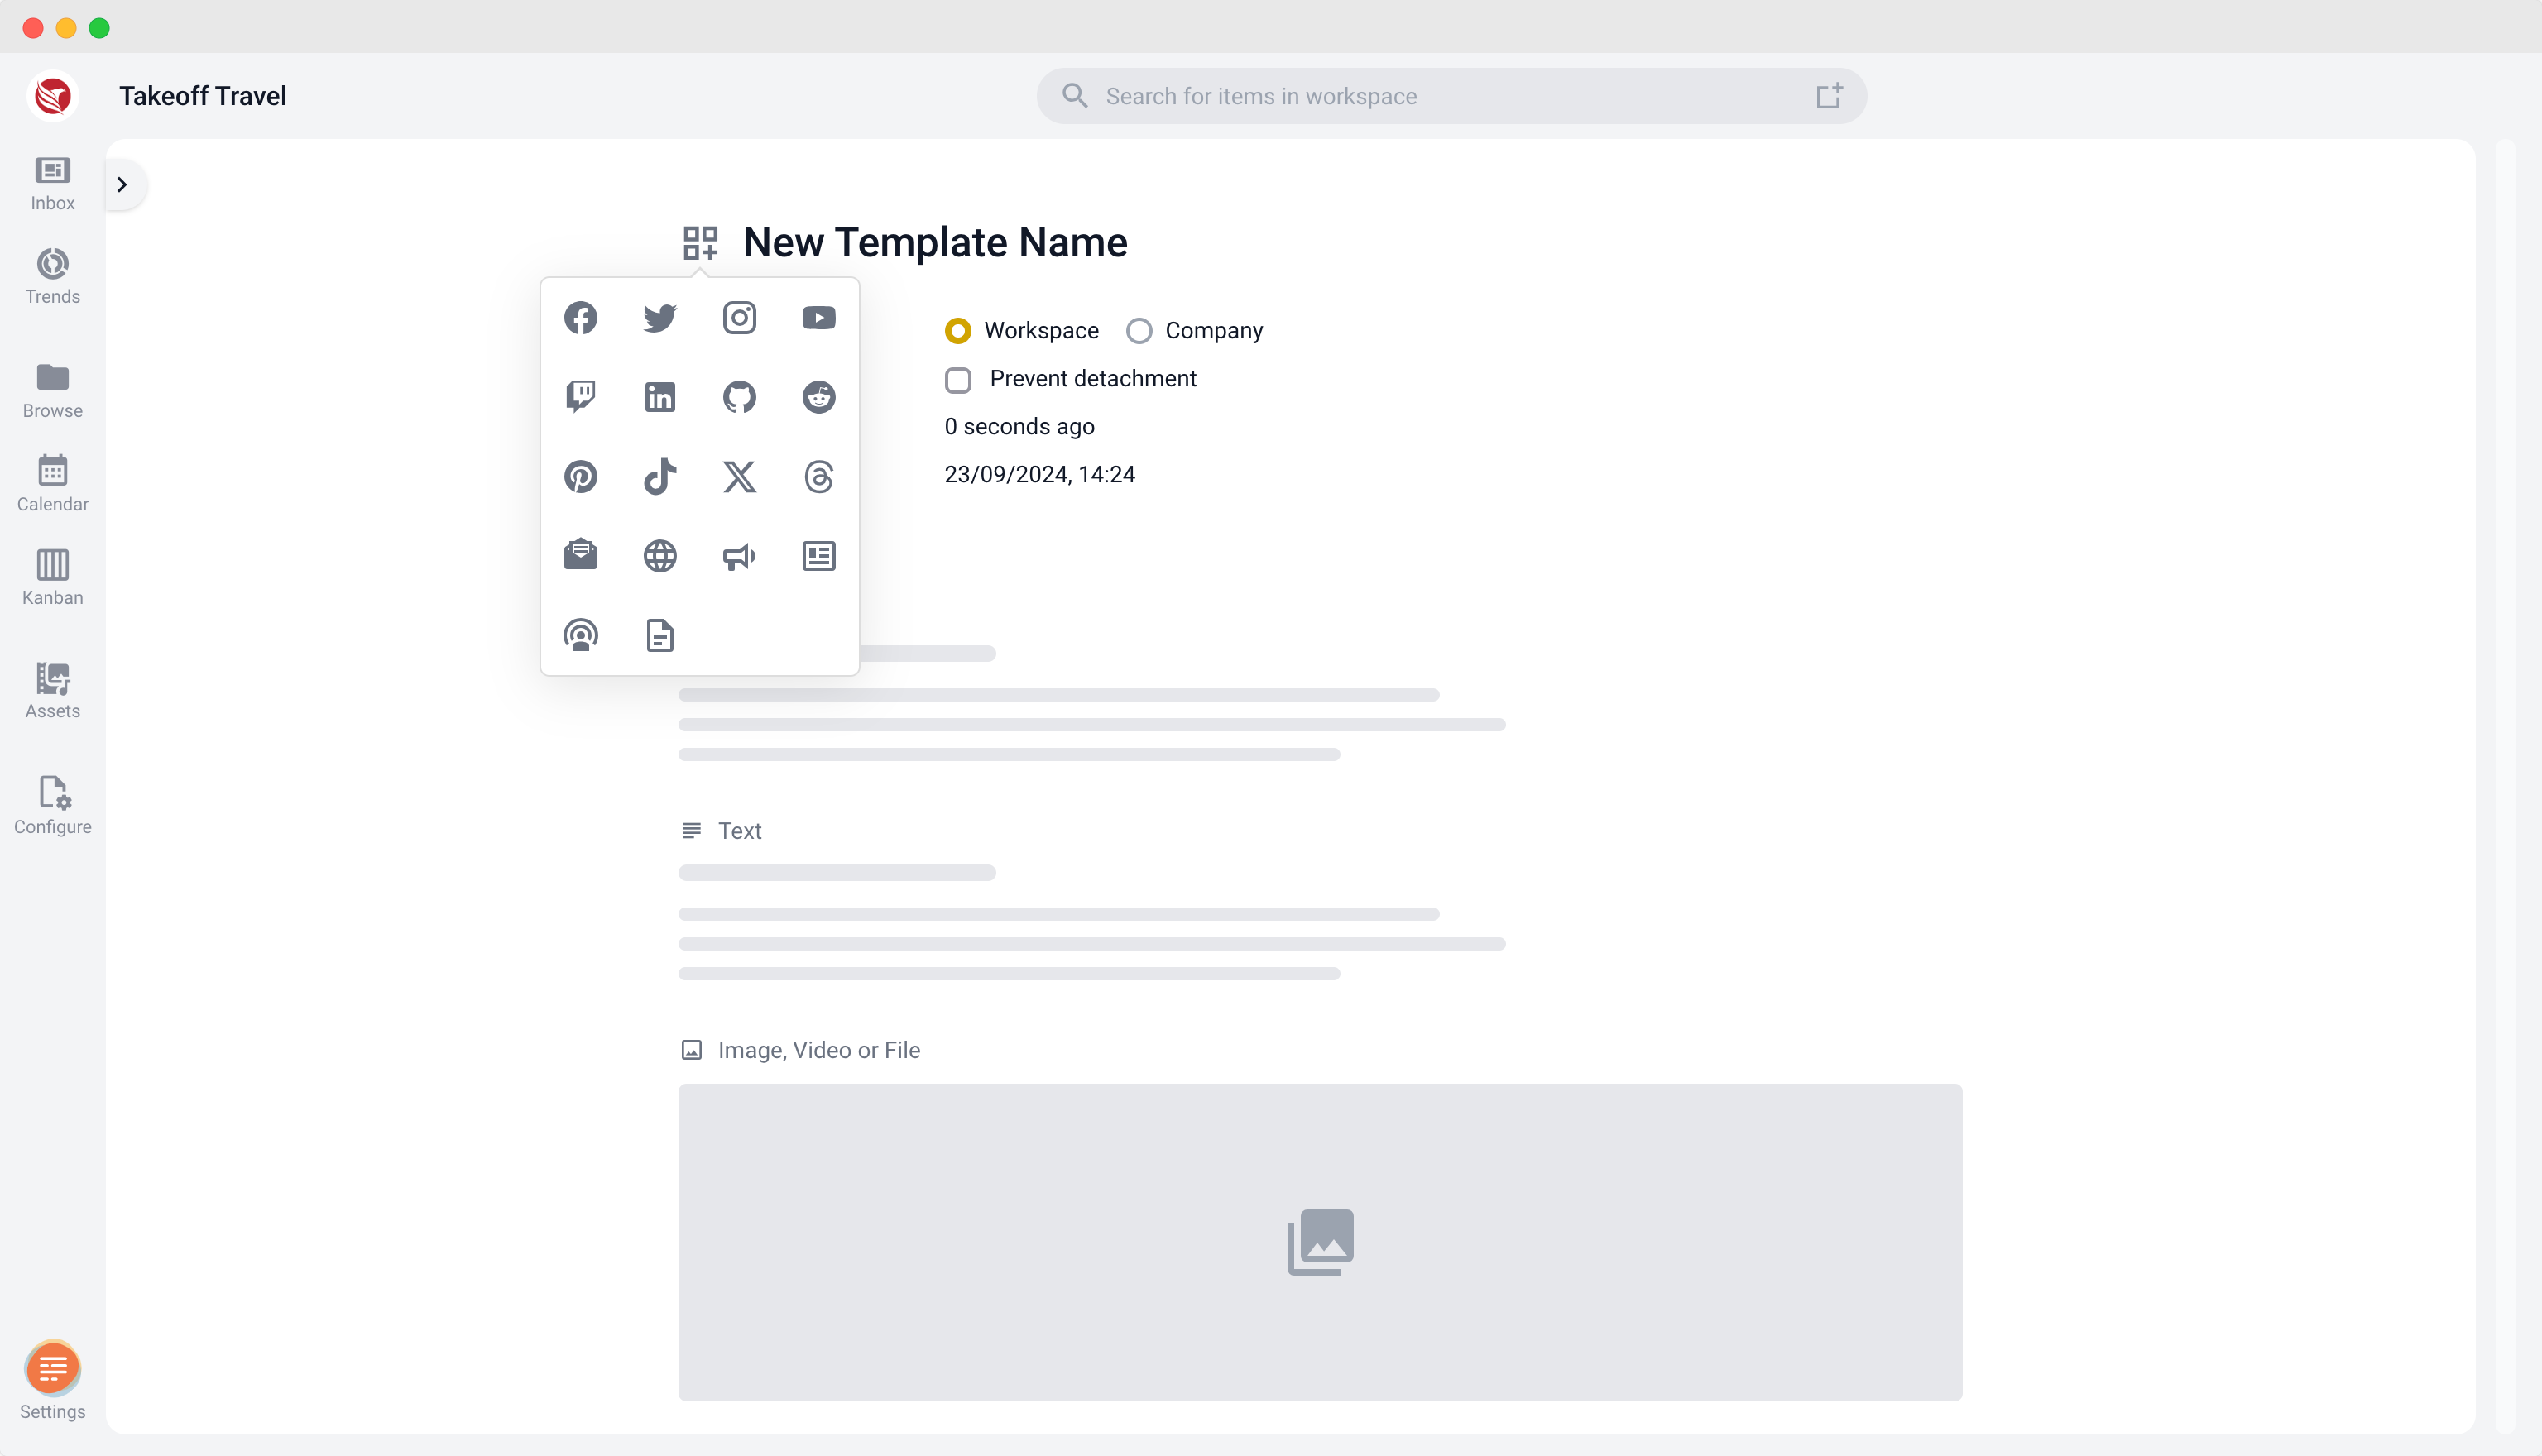
- Add an Icon: Click the icon next to the template name to choose from a variety of icons, making it easier to identify the template type at a glance.
- Availability Settings: Decide if the template should be available company-wide or restricted to a specific workspace.
- Prevent Template Detachment: You have the option to prevent other users from detaching the template from an item and using it to create a new template. This feature is useful for maintaining template integrity and avoiding unauthorized changes.
By following these steps, you can efficiently create and customize templates that suit your project's needs.